


Thank you so much for joining us today for the Altenew Background Bonanza YouTube Video Hop! We appreciate it so much! In this theme, we are looking at ways to make creative backgrounds by using dies, stencils, embossing folders, and stamps. If you want to watch the tutorial, click below. If you prefer reading the step by step instructions for each card, check it out below the video link.
Click here to view my Etsy Shop – https://cardsbycandyco.etsy.com
Altenew Giveaway Info 🎁🏆: $120 in total prizes! Altenew is giving away a $20 gift certificate to 3 lucky winners and a $15 gift certificate to 4 winners! Please leave a comment on the Altenew video and/or each designer’s YouTube video on the hop list by 03/24/2024 for a chance to win. Altenew will draw 7 random winners from the comments left on each hop stop and announce the winners on the Altenew Winners Page on 03/25/2024.

First, I love how this stained glass layering stamp set almost mimics the marbled background. These products coordinated so well together. Let’s make this simple card!
- Use Altenew liquid marble stencil, blending brush, and silver lake ink.
- Ink stencil over card base.
- Use Altenew Stained Glass Outline stamp on white cardstock using Altenew Permanent Black ink.
- Next begin adding layers for flowers with the base using Altenew Rouge Ink and the marbled look using Altenew Coral Bliss Ink.
- Add layers for the flowers using Altenew Lime Ink and Altenew Green Opal Ink.
- For the small yellow dots, I used Altenew Warm Sunshine Ink.
- For the background behind the flowers and leaves, I used Altenew Mountain Mist and Volcanoe Lake Inks.
- Die cut the stained glass image using the coordinating die.
- Die cut leaves out of light teal vellum and regular vellum using the Altenew Boho Vases die set.
- Cut a small rectangle from the teal vellum to stamp the Hola sentiment from the Label Love Spanish set. I stamped it using Versamark ink and then heat embossed black embossing powder over it. If you do the heat embossing, make sure the vellum is one that can take heat. A good alternative to this would be to use a pigment ink.
- Adhere leaves behind round stained glass focal point ensuring some stick out at the top and bottom.
- Put foam dimensional tape on back of round stained glass and then adhere to the bottom right 3/4 of the card.
- Put small foam squares on back of hola sentiment and adhere to the bottom of the stained glass circle.
- Finish by adding 3 sequins – I chose one that was iridescent teal, iridescent pink, and iridescent green to blend all the colors from the stained glass.

Next up is a great card for a guy! I actually made this card with my nephew in mind for his birthday. He loves to tinker with all sorts of things so this engineer background was perfect. This card is a 5×7 instead of the typical A2 4.25×5.5 card size. This card looks complicated, but it’s actually really easy if you use a stamp positioner like a MISTI.
- Cut card base and score to 5×7.
- Cut card panel to 4.75×6.75 from golden, dark yellow, or kraft cardstock. My panel is from a raw amber colored cardstock I already had in my stash. You could also cut it from white cardstock and then rub the Altenew Raw Amber over the edges to let it match exactly. Adhere it to card base.
- Cut a dark teal card panel 4.25×6.25. Again, I had this cardstock already in my supplies, but you could cut it from white and rub the Altenew Dusk ink over the edges. Adhere it on top of yellow panel on card base.
- Cut a white panel to 3.75×5.75.
- Use stamp positioning tool such as a MISTI and put white panel in it. Arrange base stamps from this set to however you want and then ink up with Altenew Permanent Black ink. I added the teal screws and the color accents later. Re-ink as needed and stamp onto panel.
- Remove base stamps and position the color layering stamps over the coordinating stamped images. I started with all the ones I wanted to color the Altenew Raw Amber color. I did the first color stamp using Altenew Raw Amber, then I went back a second time adding Altenew Warm Sunshine to brighten up that Amber color and it actually made these stamps match almost exactly with the panel.
- Add the stamp layers for the Altenew Dusk.
- Take the small screw stamp, place on a small clear block, and ink with Altenew Dusk ink. Stamp randomly in the empty spaces on the panel.
- Use label love “Happy Birthday” stamp and ink in Altenew dusk ink. I use my MISTI just in case I don’t ink it up well enough the first time.
- Add a little bit of thin, gold thread behind the sentiment, then pop up with foam dimensional squares. Add to card panel. I put mine roughly 2/3 of the way down to the bottom of the panel.
- Add foam tape to the back of the panel and adhere on top of the teal panel of the card base.
I love how it turned out to be such a great guy card!

Next up, we have the same embossing folder to create the backgrounds with a slightly different look. I loved how using different ink and different sides of the embossing folder, I got two great looks from the Altenew Folk Art Motif Embossing Folder.
- Cut two card bases from heavyweight black cardstock to 4.25×5.5 inches (A2 card).
- Cut two card panels from kraft cardstock to 4×5.25 inches.
- Lightly spritz the panels with water to loosen the fibers in the paper.
- Emboss one of the panels, then set aside.
- Ink the embossing folder of the raised edges (this will press down in the paper giving a letter press look instead of the raised embossed side). Place the other panel inside the embossing folder and run through.
- Use Altenew Cloud White Pigment ink and lightly run over first embossed panel making sure to not pressed down too hard on it. You will want to do it with a light hand.
- Using a corner rounder (or in my case, my envelope punch), round the corners of both embossed panels.
- Adhere panels to card bases.
- Taking two strips of white cardstock, ink the entire strips with Altenew Razzleberry ink. I didn’t have any cardstock with this specific bright pink, so I decided to make my own this way. Set aside for a few minutes to dry. This is really important!
- Rub antistatic powder over inked strips. This also is really important! Since we inked up the strips, we have to give it time to dry. Otherwise, the embossing powder will cling to the entire strip.
- Ink sentiment with Versamark Ink or any embossing ink. Then stamp on Altenew Razzleberry strips.
- Pour white embossing powder on both stamped sentiments and remove excess powder with a paint brush. Heat set until powder is melted.
- For one of the sentiment strips, I left it as a rectangle when I cut it. For the other one, I made the strip slightly longer and created a popped up fishtail look by adding two score lines on each side and folding to make it popped up.
- Add foam dimensional tape to the back of the sentiment strips and place in center of cards.
Both of these cards were very fast to make. This works great when you need a fast card. Change up the colors to make it look different.


Thank you again for joining us for the YouTube Hop! I can’t wait to see what you create! Don’t forget to like, subscribe, and leave a comment for a chance to enter the Altenew Giveaway. Products used are linked below. Your support means so much to me! Have a blessed day!


Thank you again so much for stopping by and checking out these cards! I hope to hear which one was your favorite and to see the variations you create using these products!
Click here to view my Etsy Shop – https://cardsbycandyco.etsy.com
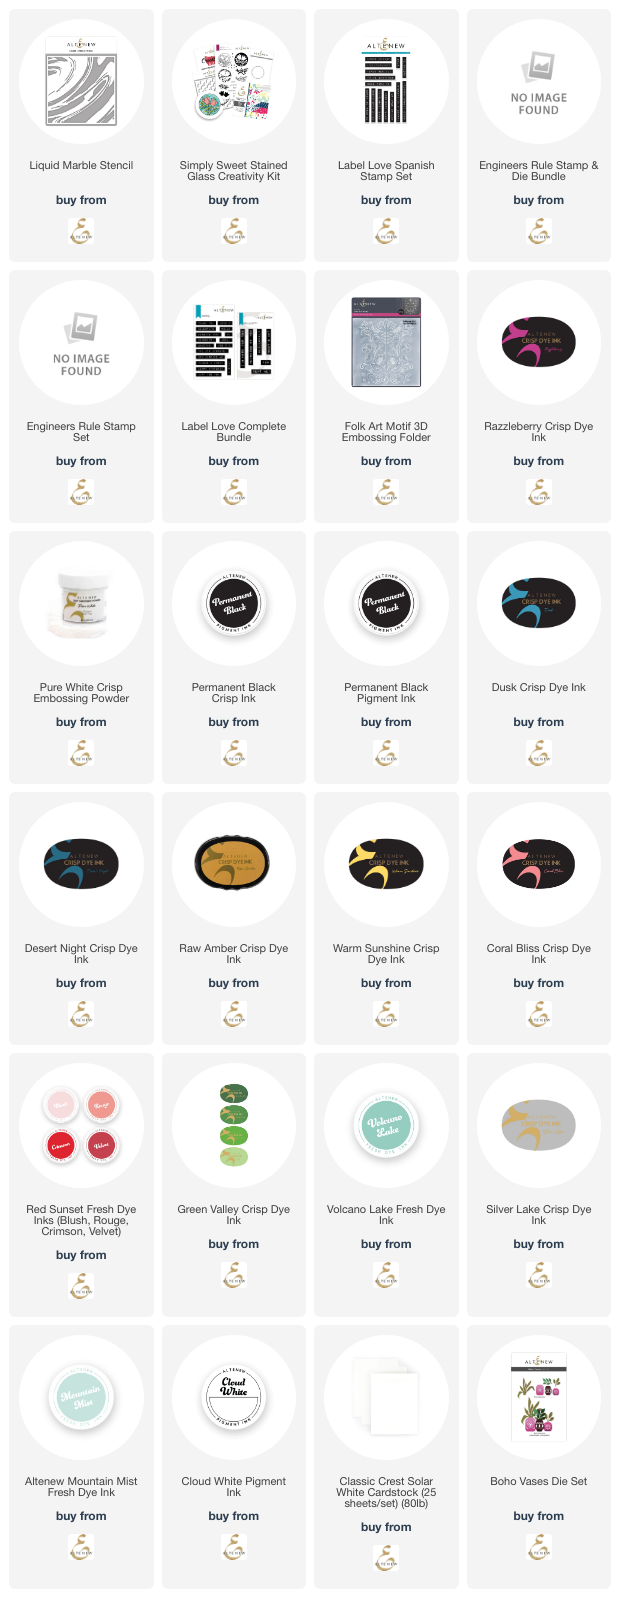
Below are the links to most of the products used for these projects. Thank you so much for your support.
Affiliate Links Disclosure: Supplies linked above are from affiliate links, which means if you click on one of the product links, I may receive a small percentage of the sales commission at no cost to you. I really appreciate your continued support and every little bit helps me to bring consistent, valuable content and support to this website. Thank you for supporting me! If you have not already, please like, subscribe, and share my video and post!
Click here to see my Etsy Shop – https://cardsbycandyco.etsy.com