


Thank you so much for joining us today! We appreciate it! Today is all about the sparkle! Both cards feature a makeshift snowflake and lots of sparkle! Sparkle makes everything better, right?
Click here to view my Etsy Shop – https://cardsbycandyco.etsy.com
This blog post coordinates with a fun Instagram Reel Hop from Altenew Certified Educators, and the theme is “𝓢𝓷𝓸𝔀𝓯𝓵𝓪𝓴𝓮𝓼 & 𝓢𝓹𝓪𝓻𝓴𝓵𝓮” The hop starts from @altenewllc, so make sure you start from the beginning!
Altenew is giving away a $20 gift certificate to 5 lucky winners! For a chance to win, please follow @altenewllc and @cardsbycandy and leave a comment by 12/11/2023. Altenew will draw 5 random winners from the comments left on each stop of this Instagram hop and announce the winners on Altenew’s Educator Instagram hop post on 12/12/2023. After you finish reading the tutorial for these two cards, head over to @auzztrinkletsncrafts to see their take on this fun, wintry theme! All products are linked below.


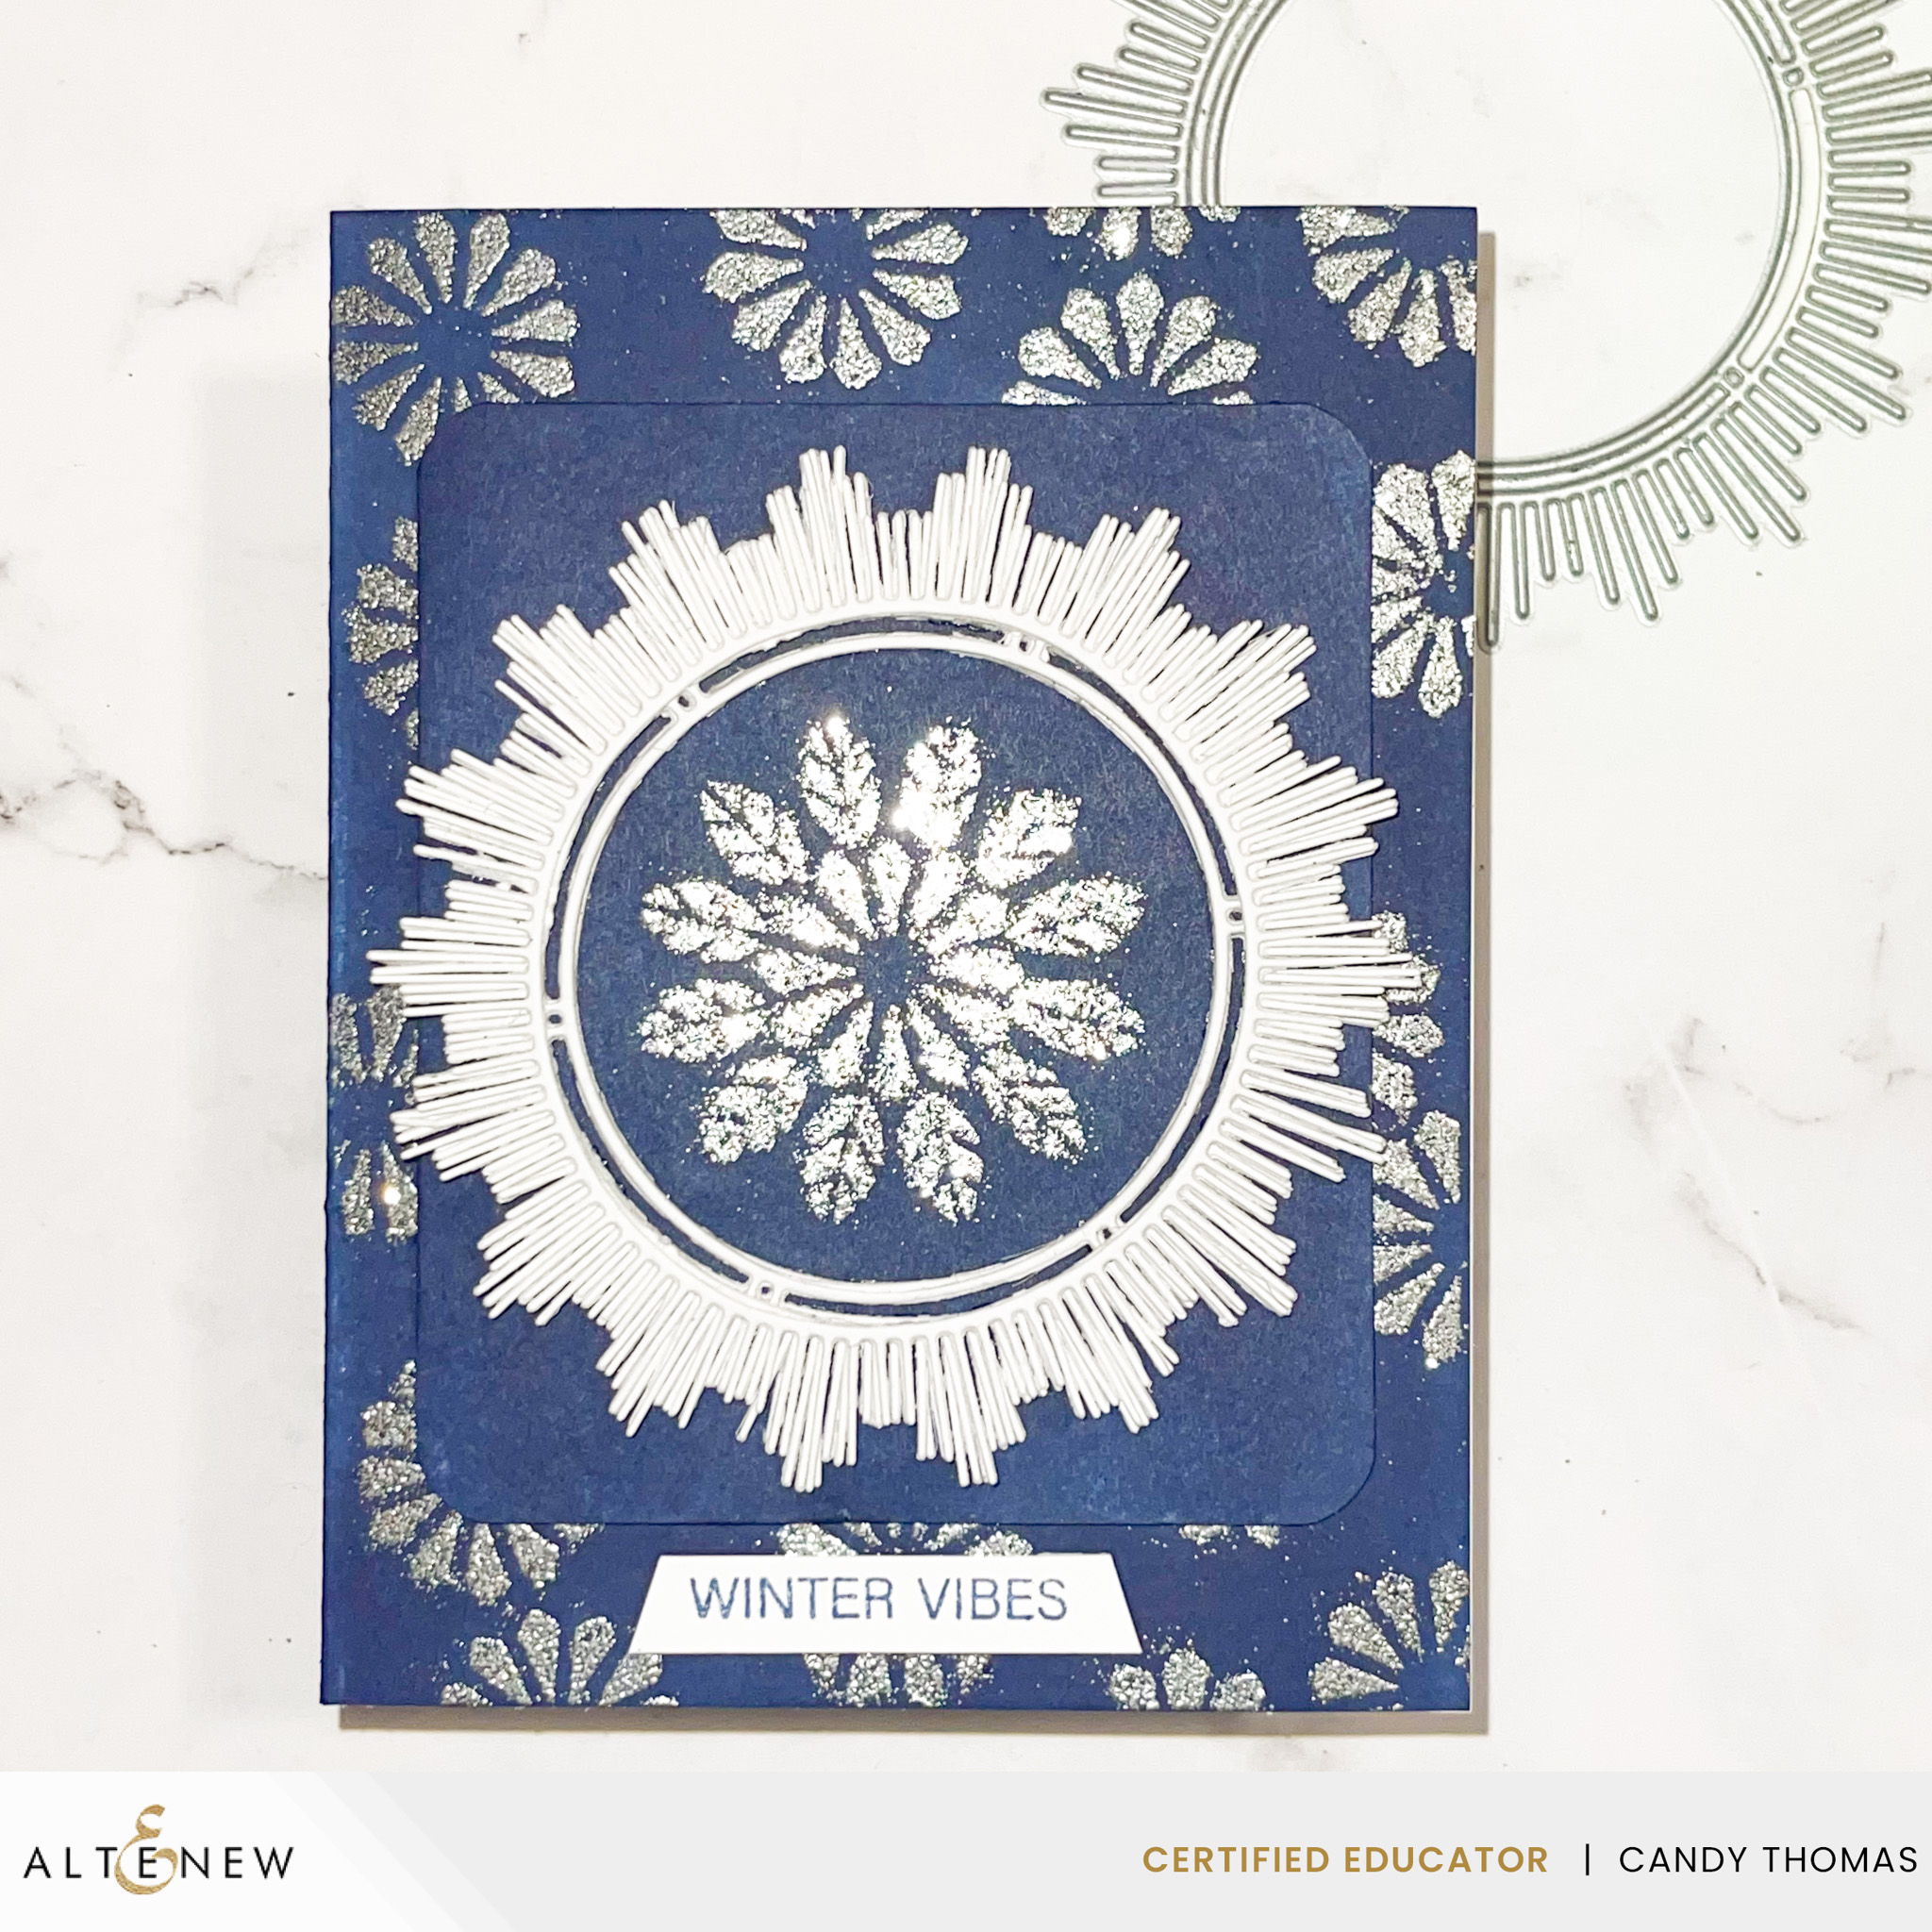
I tried to think of a creative way to create a snowflake without actually using snowflake supplies. So, I came up with this for my first card:
- Cut card base to 4.25 by 5.5 inches.
- Cut a panel to 3.75 by 5 inches.
- Ink front of the card base using Altenew Tanzanite ink. This is a gorgeous color!
- Ink panel using Altenew Tanzanite ink.
- Round corners of panel.
- Use anti-static powder over panel and card front.
- Mask the Altenew Leaf Burst Stencil to just the inside middle part of the stencil, then place on card front and blend Altenew Embossing ink or Versamark ink over random spots using the Altenew Mini Blending Brushes. I kept repeating this step until I was sure my card was covered.
- Pour glitter silver embossing powder over the stenciled “snowflakes” background and heat set.
- Now, create a larger mask to show one ring of leaves around the center portion of the stencil.
- Setting this over the middle of the card panel cut to 3.75 by 5 inches, blend embossing ink over the stencil only in the middle of the panel.
- Pour silver glitter embossing powder and heat set the powder.
- Die cut 4 of the Altenew Mid-Century Frames Dies using white cardstock and glue together to create a larger “snowflake” look.
- Once the round frame is glued together, adhere it around the faux snowflake on the panel.
- Now, stamp the “Winter Vibes” sentiment using Altenew Tanzanite Ink on a strip of white cardstock.
- Angle the edges on both sides and adhere to the panel using foam tape.
- Finish the card by adding foam tape to the back of the panel and placing in the center of the cardbase.
Now, let’s make the adorable snow globe card with all that sparkle!


This card has so much shine! I went a little rogue with my green and created more of a minty color instead of the typical bright green, but I love how it turned out!
- Cut card base to 4.25 by 5.5 inches.
- Cut white sparkle card stock panel to 4.25 by 5.5 inches.
- Glue panel to the front of card base.
- Cut another panel to 4 by 5.25 inches in white cardstock and round the corners.
- Ink blend Altenew Volcano Lake Ink over the panel and set to dry. Also ink blend a strip of white cardstock.
- Using the Altenew Snow Globe Builder Die set and Altenew Glitter Cardstock in silver and gold, die cut the frame and the base of the snow globe. Also die cut the main part of the snow globe (the part behind the snowman) from a piece of vellum.
- Die cut the snowman from white glitter cardstock, Altenew black glitter cardstock, and gold cardstock. I die cut the branches from a scrap of brown cardstock. Glue snowman pieces together along with arms and eyes.
- Take the ink blended strip of cardstock and die cut the little swirls. Adhere for decoration to the base of the snow globe.
- Take the inked panel cut to 4 by 5.25 inches and the Altenew Leaf Burst Stencil (already masked from creating the center snowflake on the previous card), and ink blend Altenew Cloud White Pigment Ink over this panel to create a background of larger snowflakes.
- Set to dry. Once dry, in the middle of the panel, adhere the vellum. Add snow hill die cut to the bottom of the vellum.
- Add foam dimensional tape to the back of the snowman and place on top of the vellum and snow hill.
- Add little snow fall bits (same die cut as the snowman eyes) all around the snowman on the vellum part.
- Add foam dimensional tape to the back of the snow globe gold glitter base and adhere to the bottom of the snow hill and vellum. Add foam tape to the back of the snow globe silver glitter rim and adhere flush to the snow globe base.
- Stamp the “Stay Cozy” sentiment from the Altenew Cozy Winter Stamp set and then round the corners. Glue to the bottom of the snow globe.
- Add foam dimensional tape to the back of this panel and adhere to the card base.


Both cards were fun takes on stretching my supplies to create a snowflake and sparkle theme without using actual snowflake products. I like to stretch my supplies this way to get more use out of them. Each time I looked at the leaf burst stencil, I kept seeing a snowflake in the middle of it. So when Altenew hosted this hop, I knew the exact products to use! I hope you enjoyed these cards! Thank you again for stopping by and I can’t wait to see what you make with products you have!
Click here to view my Etsy Shop – https://cardsbycandyco.etsy.com


Affiliate Links Disclosure: Supplies linked above are from affiliate links, which means if you click on one of the product links, I may receive a small percentage of the sales commission at no cost to you. I really appreciate your continued support and every little bit helps me to bring consistent, valuable content and support to this website. Thank you for supporting me! If you have not already, please like, subscribe, and share my video and post!
Click here to view my Etsy Shop – https://cardsbycandyco.etsy.com
