
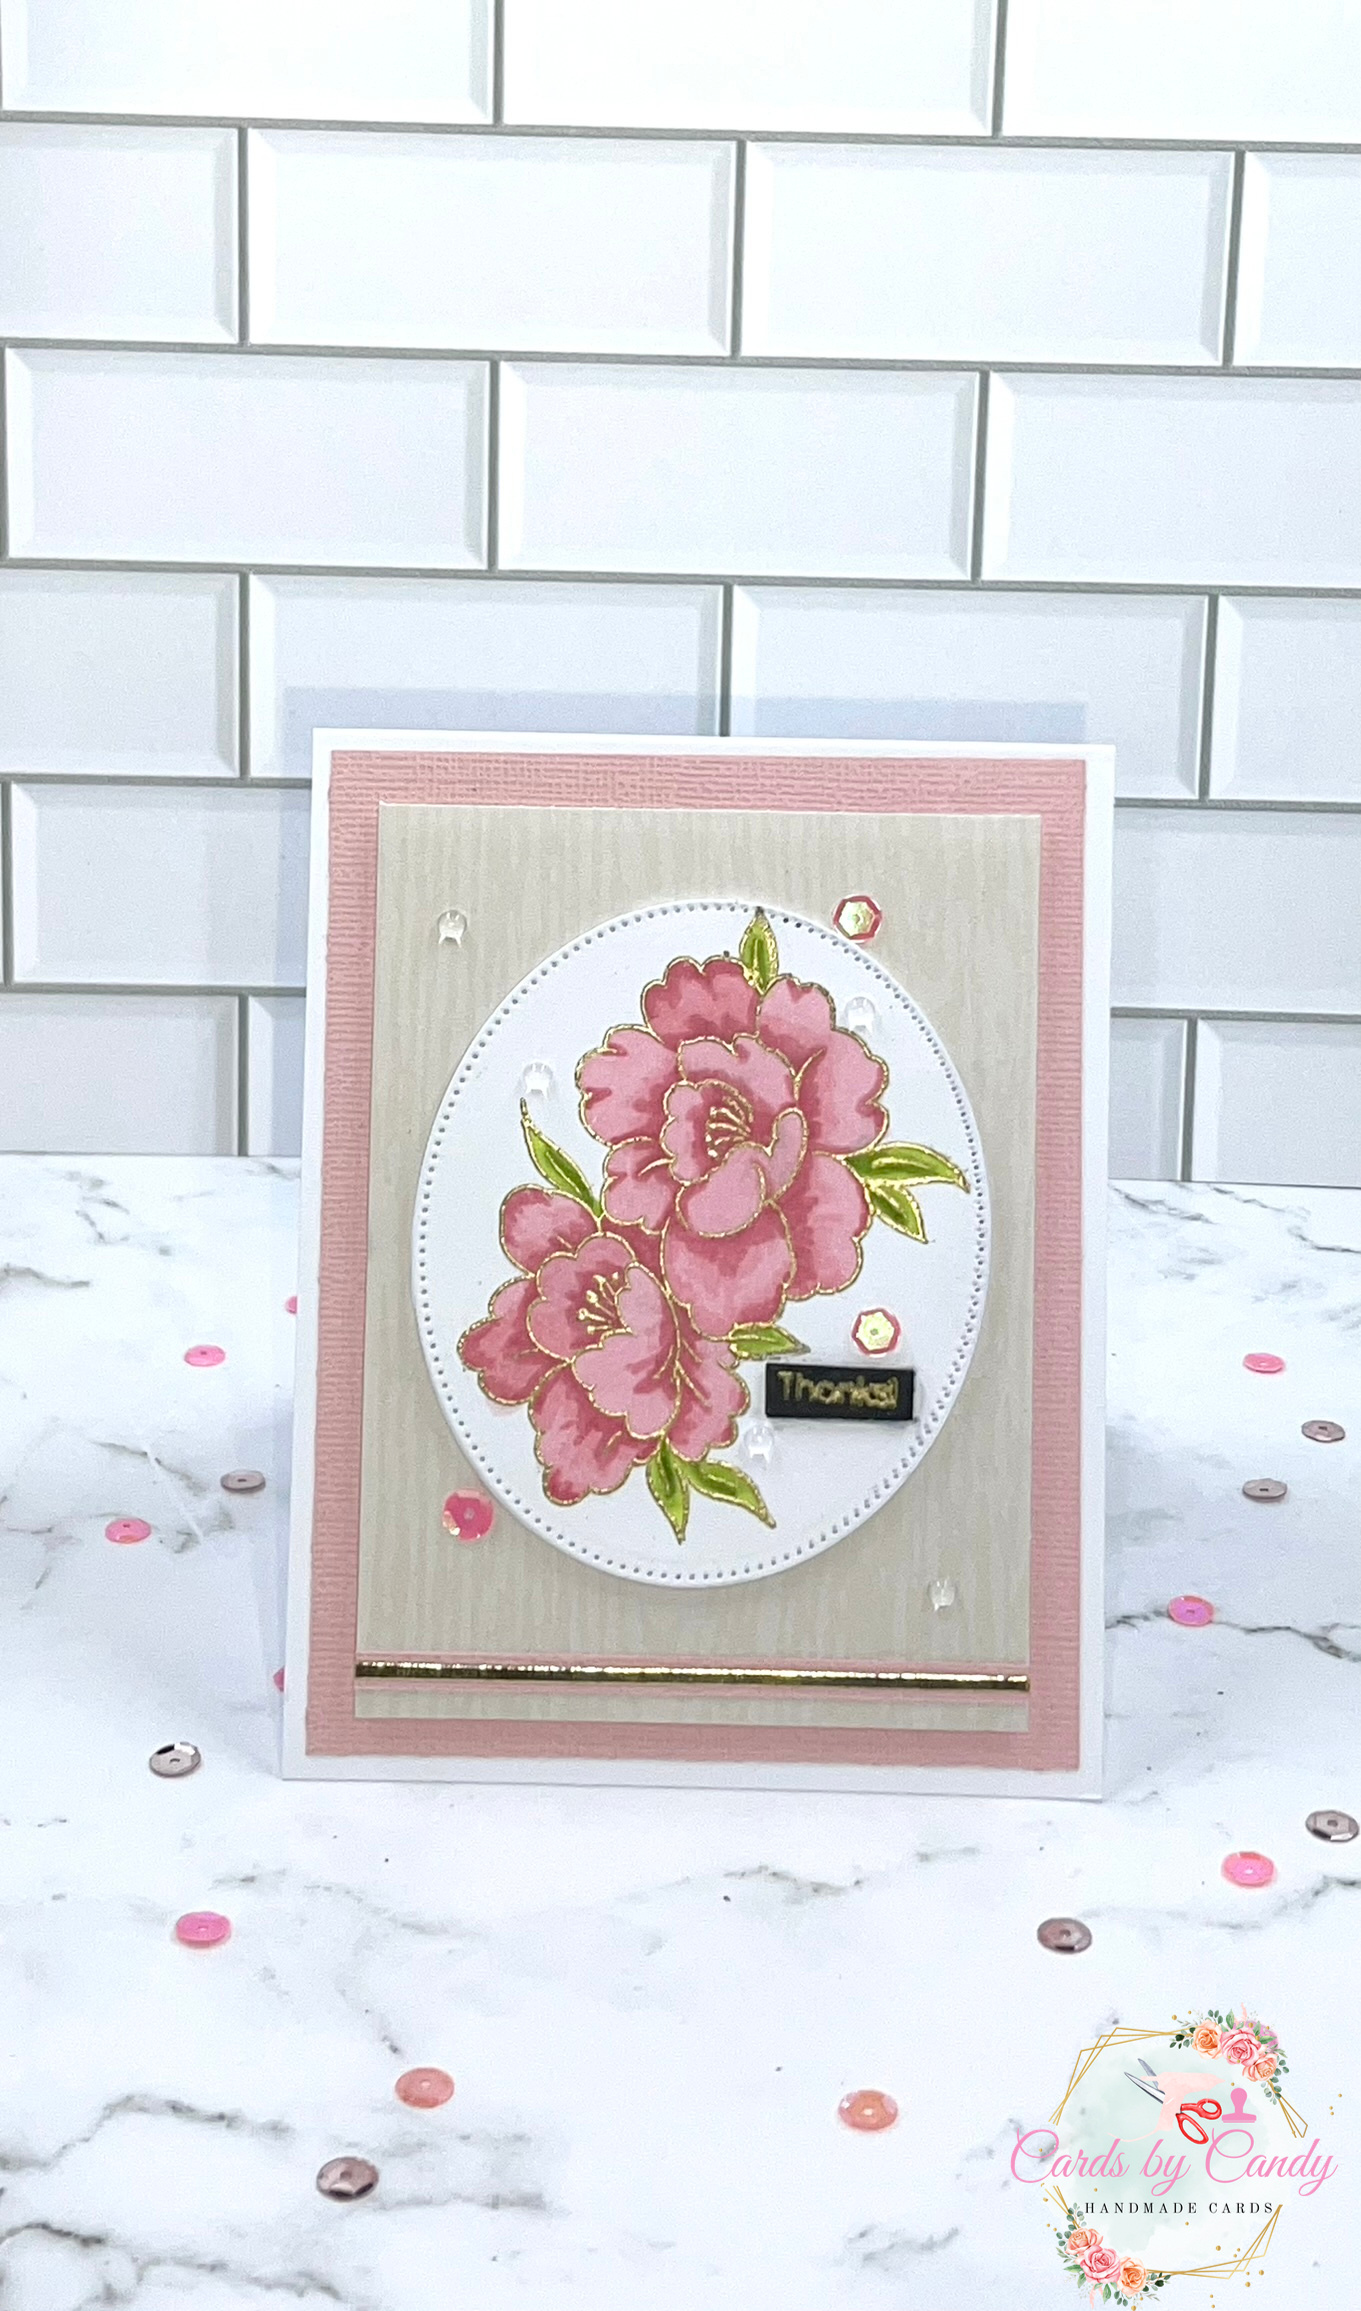

Hello crafty friends! Today we have a super quick and simple card featuring the Altenew Thank You 2022 mini stamp set I received as a gift. This little set is adorable and works great with alcohol markers, watercolor, or even colored pencils.
I started with a 4.25×5.5 inch top-folding notecard base from 130lb heavyweight cardstock. For my mat, I cut the pink textured cardstock to 4×5.25 inches. Then the designer paper with the woodgrain was cut to 3.5×4.75 inches. I have a woodgrain stamp and embossing folder I could have used; but, I wanted to make this card fairly quickly and chose the designer paper instead.
- Glue pink mat onto card base.
- Adhere small pink strip near the bottom of the woodgrain panel.
- Add a super thin strip of mirror gold cardstock to middle of pink strip.
- Adhere woodgrain panel to craft foam for dimension.
- Glue this panel on top of the pink mat.
Looking through my scraps bin, I found four ovals previously die cut from 130lb heavyweight cardstock.
- Use Versamark Embossing Ink and stamp flower on oval die cut.
- Pour gold embossing powder over image.
- Brush away any loose powder from the image.
- Heat set with a heating tool.
Now let’s get into coloring this cute little flower. I must make a disclaimer that I am not great at coloring or adding shadows. I try my best! Only get close to the embossed lines, but try not to touch the marker nibs to it. One tip I use is to start slightly under the line as the alcohol ink will spread and ends up coloring all of it.

I used Spectrum Noir Alcohol markers, which is linked in the supplies list below. For the flower, I used these colors: FS6, AP1, and AP3. For the leaves, I used LG2, LG3, and CG4. After adding the darkest color for the flower and leaves, I went over the images again and used the lightest of each color to blend it all together.
After coloring the flower, I stamped the “thank you” sentiment onto black cardstock using Versamark Ink. Then, I poured gold embossing powder over it and heat set it. I cut down the sentiment strip and cut two more pieces of black cardstock to glue behind the strip for more dimension. Then I adhered it to the card. You’ll notice I stamped extra leaves on the larger flower. It looked a little bare, and the set comes with two leaves separate from the whole image.
To give dimension to the oval focal point, I glued the other three oval die cuts to the back of my stamped oval. If you use a heavyweight cardstock, it adds extra dimension and sturdiness without using up all of your craft foam tape. I let it dry then adhered it to my card. The project was completed by adding some pink iridescent sequins and some Honey Bee small clear dew drops.


I hope you enjoyed this card! If you make it, please tag me on Instagram using these tags: @cardsbycandy, #CardsbyCandy, and #CandyThomas. I’d love to see your designs using what you already have on hand. Thanks so much for stopping by! Wishing you a very blessed New Year!!
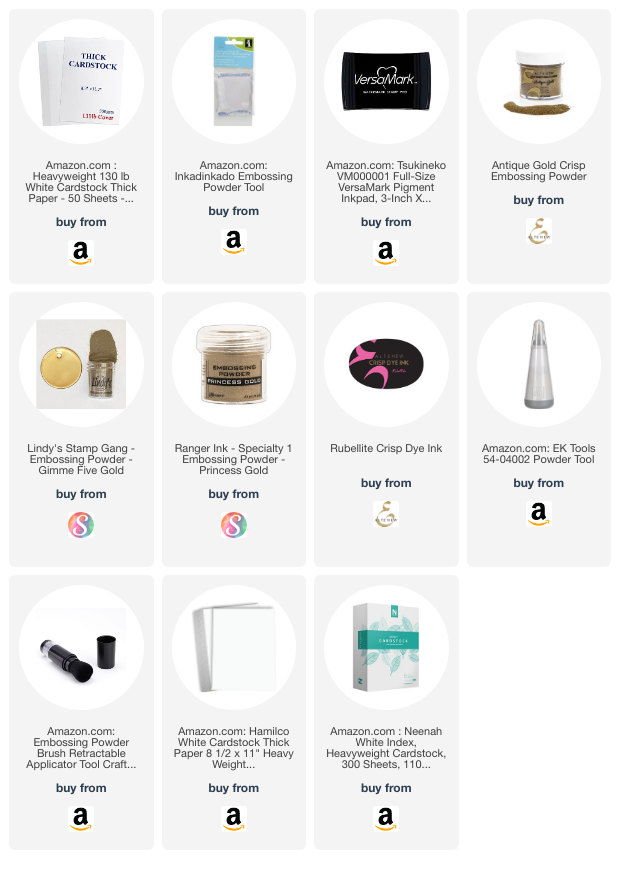
Check out all supplies linked below.
Compensated affiliate links may be used at no cost to you. Thank you for your support! All products were personally purchased. This blog or video was not paid. I posted this blog and video because I love the products I am using. Please follow safety when using any products. Please see manufacturers’ websites for all safety information.