
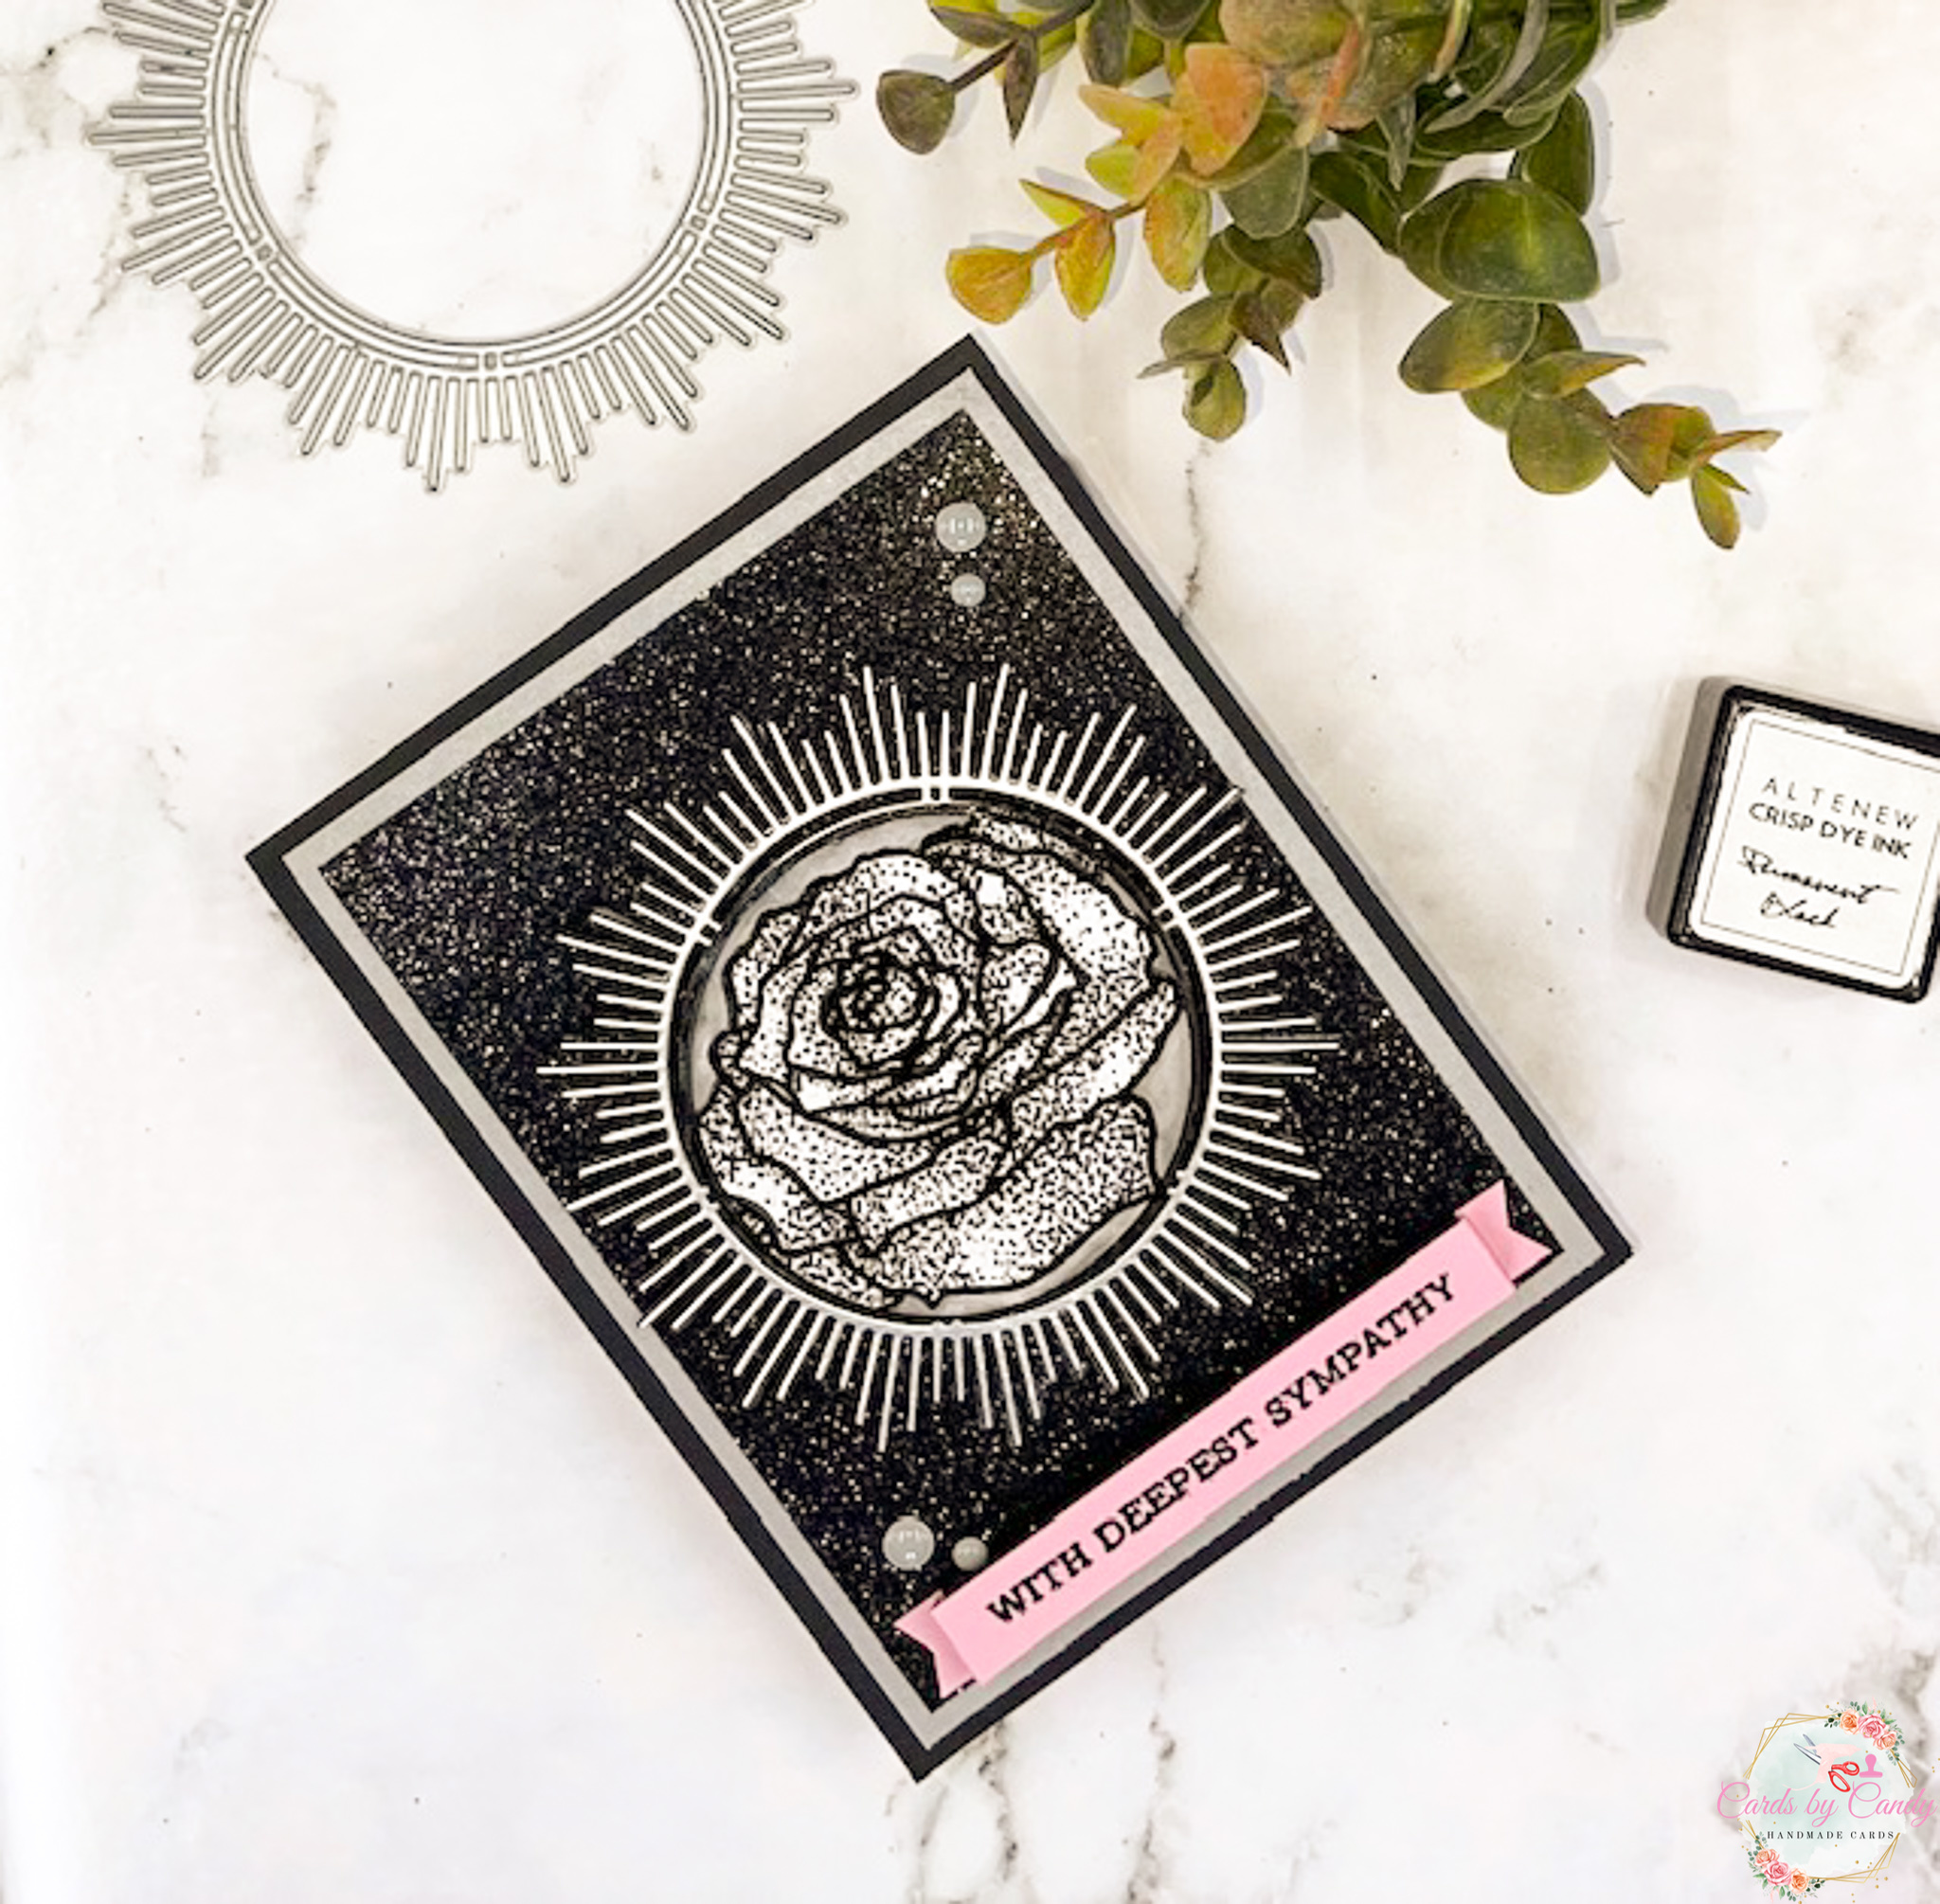

Hello! Welcome back for more stamping! Today’s card features a tattooing and art technique called stippling. I had already known about stippling, but did not realize at some point it was used in tattooing. I took a class offered by Altenew called Transcending Tattoo Techniques presented by Jaycee Gaspar. I learned a lot from this class as it is not my go-to for cardmaking. I was quite challenged in creating a card to go along with this theme, but I love how it turned out! Let’s get into the details of how it was created.
- Cut top-folding card base to 4.25″ by 5.5″ from thick, heavyweight black cardstock.
- Cut mat from shimmery silver paper to 4″ by 5.25″ and adhere to card base.
- Cut feature mat from Stampin’ Up Black Glimmer cardstock to 3.75″ by 5″ and adhere on top of silver mat.
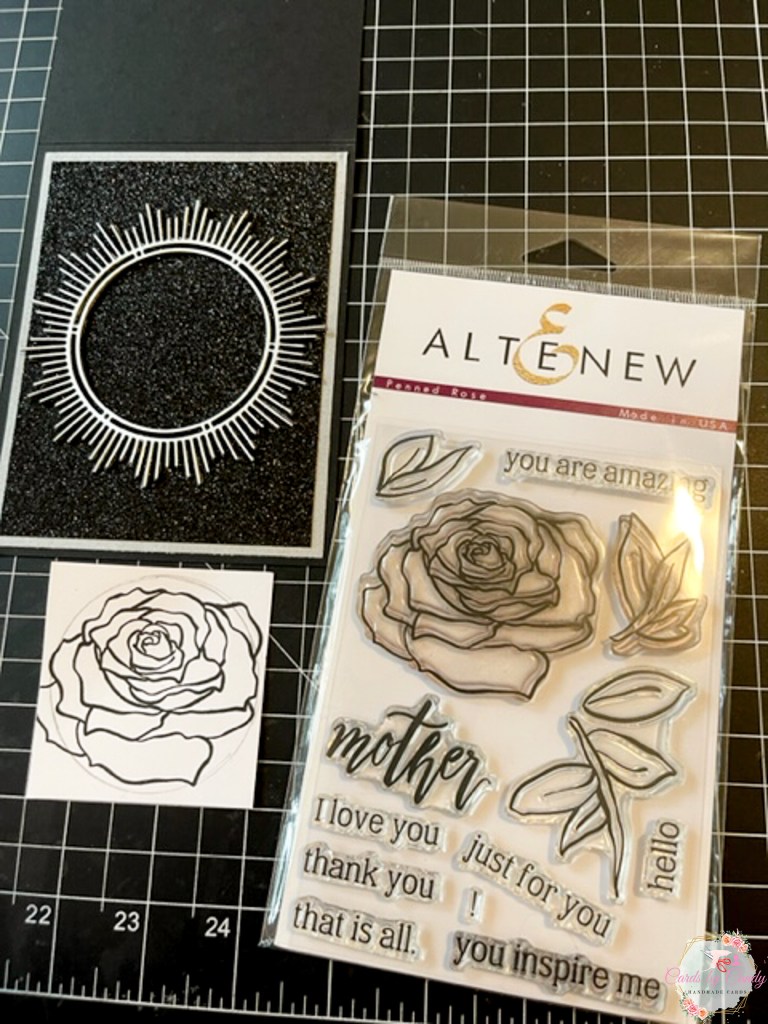
- Die cut sun rays frame using the Altenew Mid-Century Frame die from silver matte cardstock. For dimension, also die cut this frame three times from black cardstock. Keep all of the center circle cutouts from the frame to use later.
- Before die cutting the frame from the black cardstock, make sure to use double-sided adhesive sheets on the back of the cardstock as this will make adhering the multiple frames together much easier. I used Altenew double-sided adhesive sheets, but any you have on hand will work.
- Adhere all frames together and adhere in the center of the card.
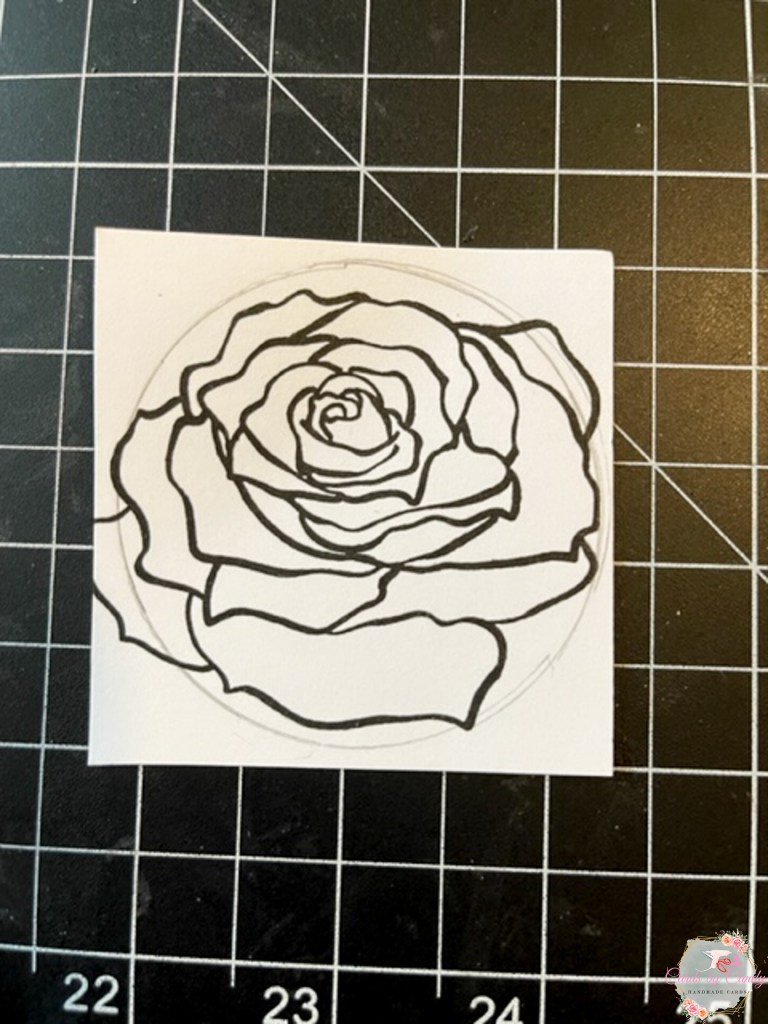
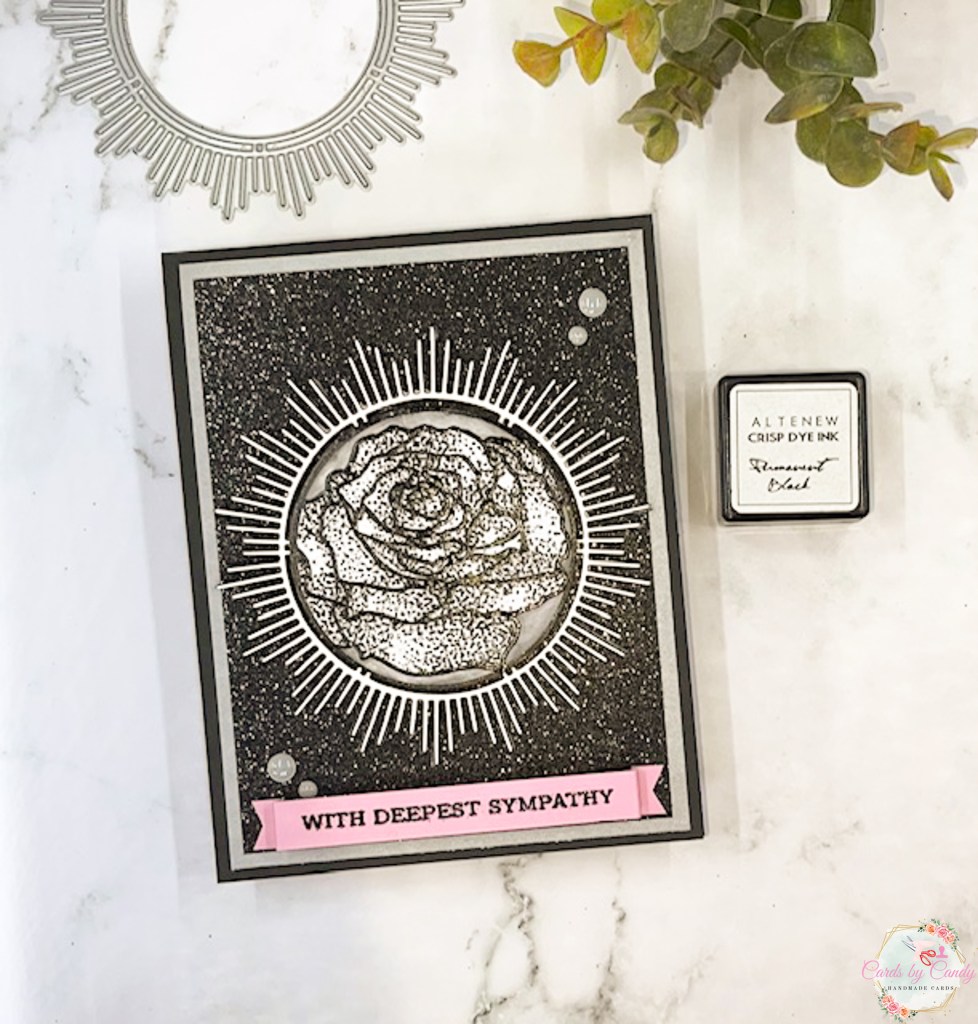
- Using the Altenew Penned Rose stamp set, stamp the large rose outline in Altenew Permanent Black ink on crisp white cardstock.
- With a pencil, begin stippling technique and make sure to put more dots where you want the shading to be. An area where you want it lighter, use less dots. For example, in the center of the rose, it will be darker, so I added many more dots closer together.

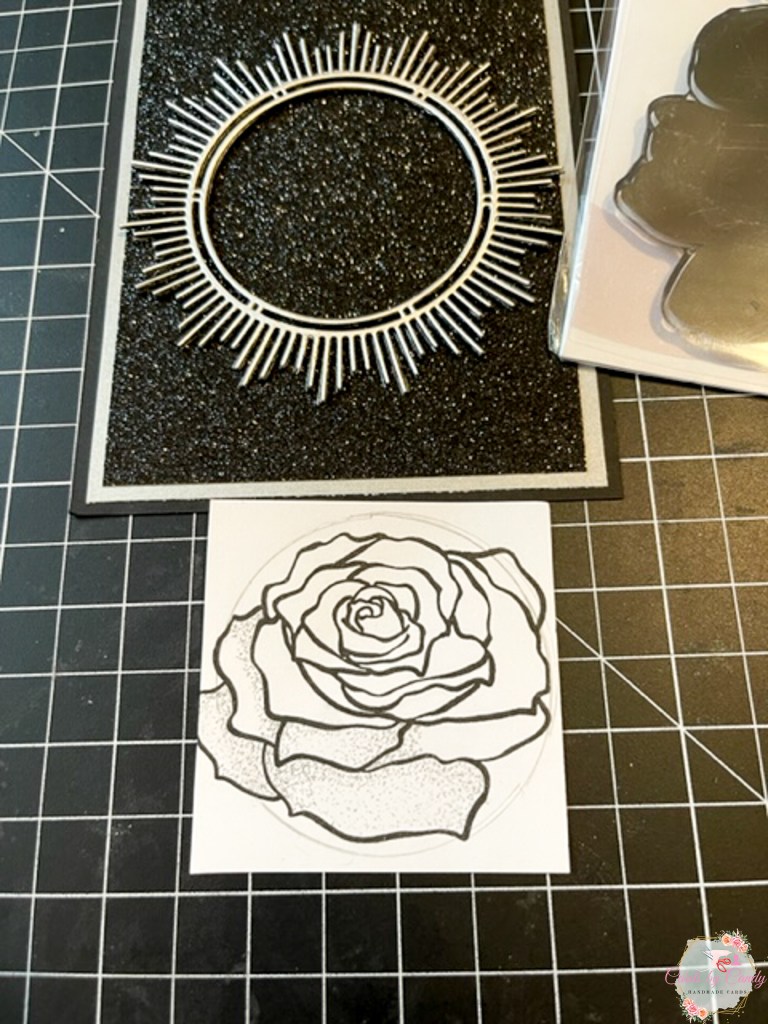

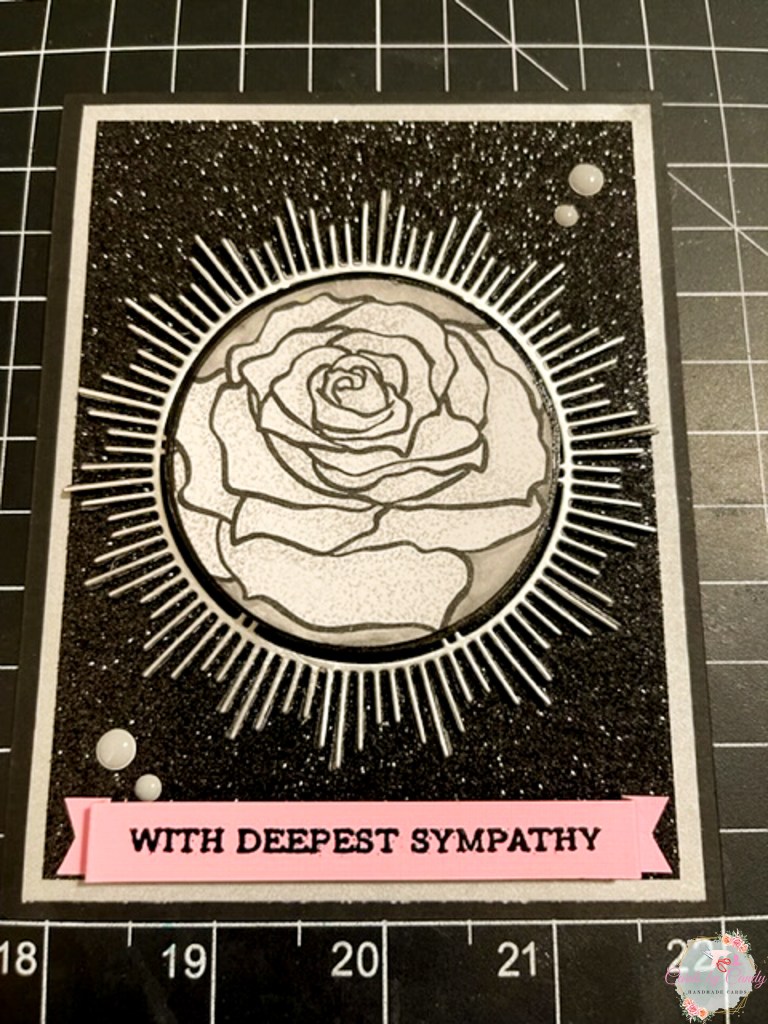
Once I completed the stippling with the pencil, I die cut the circle shape using the Altenew Mid-Centry Frame Die. I have other circle dies, but I really wanted to make sure this would be the same size. Next, glue the leftover circles to the back of the stippled rose. I noticed once I placed this rose in the center of the card, it was too much white on the circle center. Using my Altenew Watercolor Essentials Set, I added a light dab of black watercolor to create a mid-toned gray around the rose. Now lets get into more of the details with making this rose center pop!

- I traced around the edges of the rose circle using a black marker. I really wanted this circle to pop more, so I traced it again with a black glaze gel pen.
- The gray pencil dots was a little too light for the card and for the tattooing technique, so I went over all stippling with the black glaze gel pen.
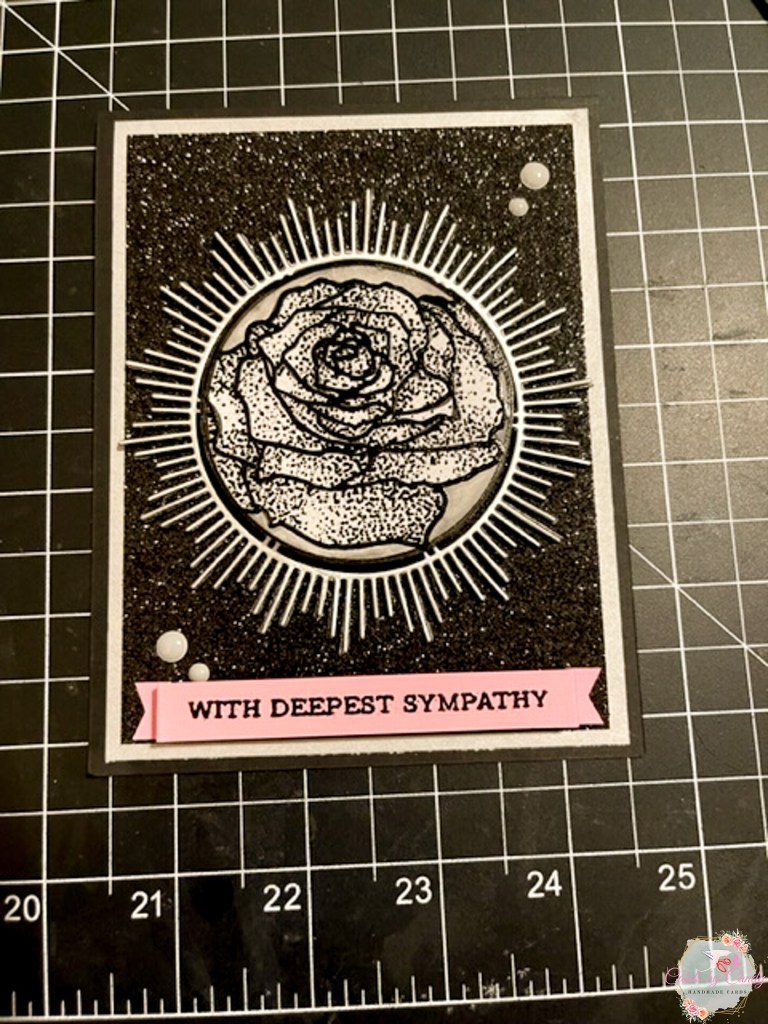
- So that the rose would stand out after adding the black glaze stippling, I traced over the rose outline with the black glaze pen. This would have been much easier if I had used black or clear embossing powder and heat set it rather than carefully tracing the outline with a pen, but I did not think about it until I was nearly finished.
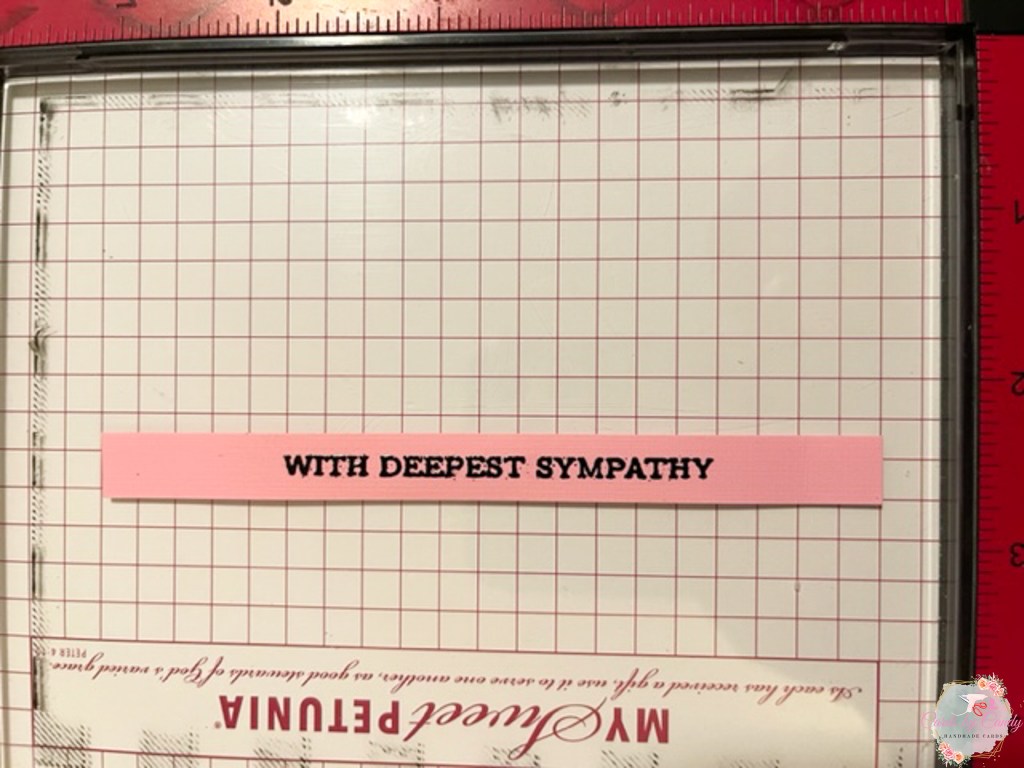
- For the sentiment and a pop of color, cut a thin strip of pink cardstock, slightly longer than the black glitter mat.
- Stamp the “With Deepest Sympathy” from Altenew Sentiment Strips stamp set using Versamark Clear Embossing Ink.
- Pour black embossing powder over stamped sentiment and heat set.
- Score two lines to the left of the sentiment (fairly close together – I believe about 1/4 of an inch apart) and score two more lines to the right of the sentiment.
- Cut out a fish tail for the banner on each end.
- Then fold the banner sentiment so that the middle will pop up and the fish tail will lie flat.
- Before adhering to the card, you will need dimensional foam under the sentiment portion of the strip for a sturdy lift. It would work without the dimensional foam, but I really wanted mine to be sturdy.
- Place under the frame in the center of the card.
- Using double-sided black foam dimensional dots, add one layer to the back of the round rose center cut out and remove the release paper.
- For extra dimension, add another layer of black foam dimensional dots on top of the first layer and remove the release paper.
- Place in the center of the open circle frame.
- Add two small and two medium Altenew Enamel Dots from the Rock Collection color near the sentiment and the top right of the card. Usually odd numbers work best, but I could not get it to look right with the fifth dot, so I only used four dots.


This was a fun card to make! If you want an easier option of stippling, try using the Altenew Calming Reverie rose stamp instead. It already has the stippling effect on the rose and the leaves. I wanted to do it myself to practice this technique, so I opted for the Altenew Penned Rose outline stamp.
Let me know what you think in the comments and which products you would use with this tattooing stippling technique.

wow!! Very dramatic! It is a very different type of project, out of the box,I think you should definitely give this class and lessons in this class a few more tries! I think you will unleash your creativity in so many ways! well done!
Thank you, Erum! I will work with more of the lessons from this class and come up with more projects.