Old World Vintage Card
Anything antique, vintage, old, you get the idea, but I absolutely adore it. So, when I participate in a card swap this month, the theme was Vintage. I have so many other dies and stamps I could have used, but I really wanted a simple vintage card.
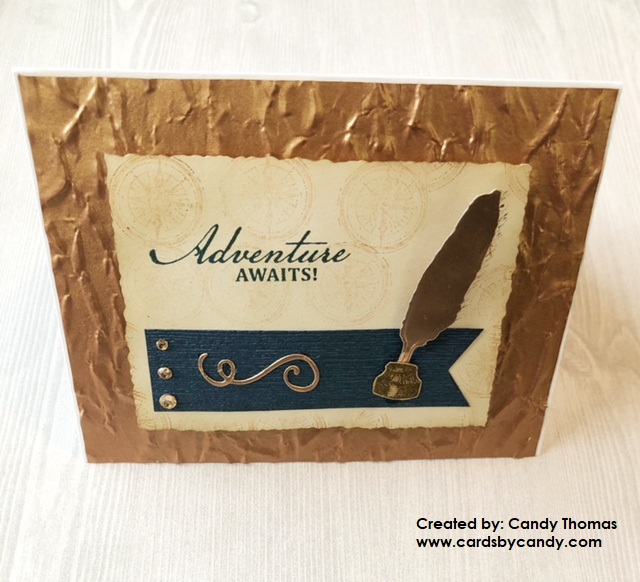
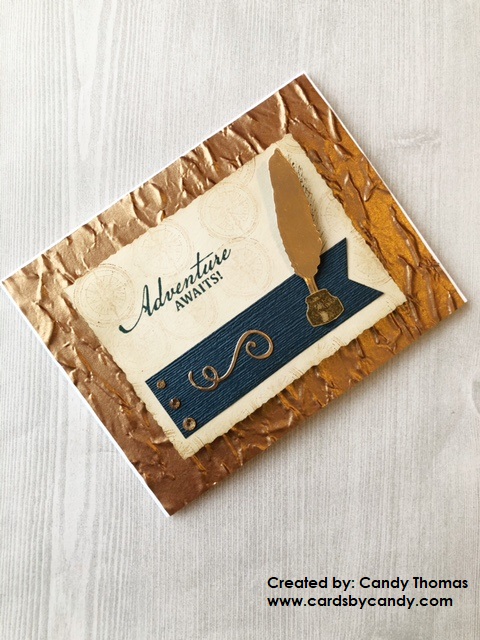
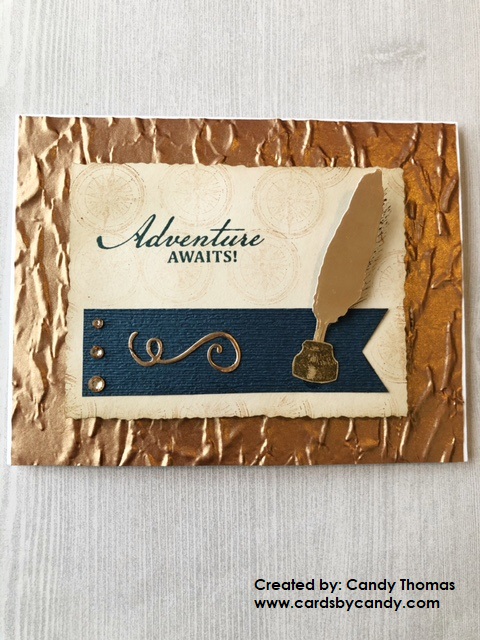
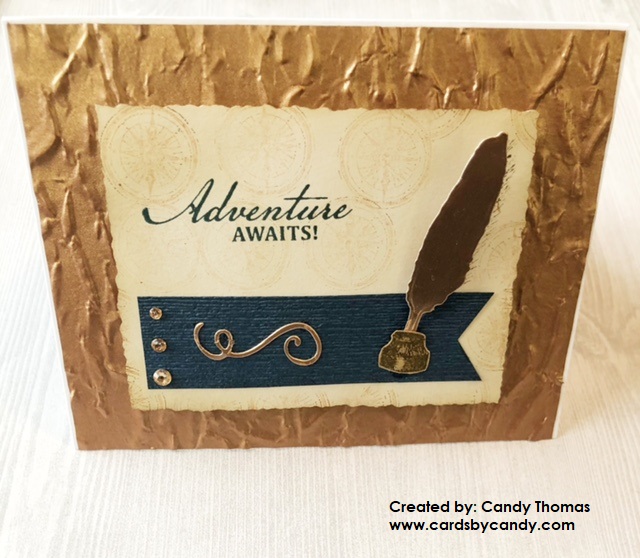
I started with a 130lb heavyweight card base cut to 4 1/4 x 5 1/2 inches. Then, I cut a mat using The Paper Studio copper 3B metallic paper to 4 1/8 x 5 3/8 inches. I wanted it to nearly cover the entire front of the card leaving very little white trim. I took the metallic copper paper and dry embossed it using the Stampin’ Up! Old World Paper 3D embossing folder. Then, I dabbed a small amount of Gina K Connect Glue on the back of it and adhered it to the card base. I absolutely love how the metallic paper shows the depth of the embossing. When you rub your hand over it, it feels like an old crumpled piece of paper. I’m in love with the combination.
Next, I cut an accent piece of paper to 4 x 3 inches. I used the Recollections light tan paper. I really wanted it to have the rough edges like some old books have, so I used the Tim Holtz Deckle Edge Trimmer to achieve that look. Y’all, this Deckle Edge trimmer is the best!!! Once slightly trimmed, I used an ink blending brush and Stampin’ Up! Soft Suede Ink to lightly go around the edges and corners of the accent piece. Then to create my own background on the accent piece, I used the Stampin’ Up! Beautiful World compass stamp. I inked the stamp using Stampin’ Up! Cinnamon Cider, but I stamped off two times before stamping my accent paper. I wanted it to be light without being too dark and take away from the rest of the card. I overlapped some of the images and went all over the accent card.
To add more detail, I cut a small strip of Recollections navy cardstock to 3 1/2 x 1 inches. Then, I used a Stampin’ Up! Banner trimmer punch to get the fishtail banner on one end. Next, I used the Stampin’ Up! Subtle 3D embossing folder to get the linen look on this banner strip. Before gluing the banner strip down, I placed it to get an idea of where I wanted it. Then, I stamped the quill pen using Stampin’ Up! Soft Suede ink and the Beautiful World Stamp set. Once I stamped the quill pen, I used Gina K Connect Glue and then adhered the navy banner strip to the bottom of the accent piece, slightly covering the bottom of the quill pen stamped image. Then, I stamped “Adventure Awaits!” using the Stampin’ Up! Beautiful World stamp set slightly above the banner.
I set the accent piece to the side and completed some die cutting. For all of the die cuts, I used Recollections copper foil paper. What I love about the Recollections copper foil paper is that the back side of it is a craft paper look. Once I die cut the quill pen and the holder using the Stampin’ Up! World Map dies, I realized it was too much copper together. to give a different look, I turned the pen holder die cut to the back and then stamped the holder image onto it using Soft Suede. This looked much better when placed up against the die cut quill pen. This die set also includes the swirlies…not really sure what else to call those…maybe scrolled images? 🙂 I used foam dimensional tape to pop up the die cut quill pen. I slightly offset the die cut from the quill pen stamp set so a little of it would show. Then, I adhered the stamped pen holder image using Adtech permanent craft tape. I added the larger swirly/scroll to the center of the banner. Finally, I finished it off by adding three different sized Stampin’ Up! champagne rhinestones in a line. I popped up the accent piece using foam adhesive dimensional dots.
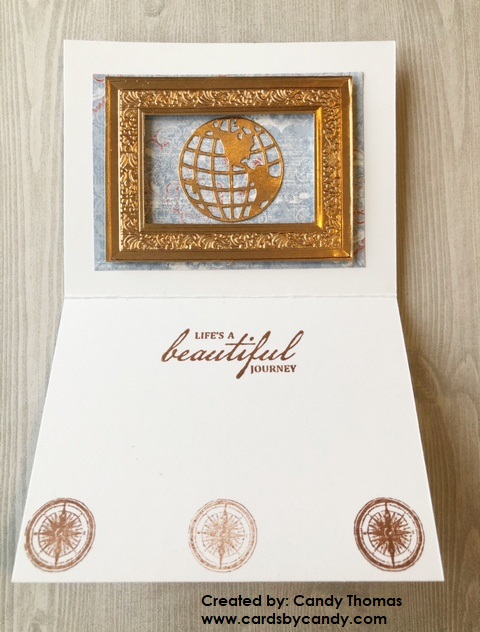
For the inside of the card, I used Stampin’ Up! Woven Heirlooms designer series paper cut to 4 1/2 x 3 1/4 inches. I used Adtech permanent craft tape to adhere it to the top middle portion on the inside of the card. I had already die cut the US view world map with the Stampin’ Up! World Map dies. I glued it to the middle of the designer series paper using Gina K Connect glue. For the final piece of the top portion of the card, I die cut a rectangle using Stampin’ Up! Heirloom Frames dies and Recollections copper foil paper. So it would look like a true antiqued frame, I used the coordinating Heirloom Frames 3D embossing folder, which is designed to create an ornate frame. It is absolutely gorgeous! I adhered it using foam dimensional tape.
To finish the final stamping on the inside of the card, I used Stampin’ Up! Cinnamon Cider ink and the “Life’s A Beautiful Journey” and compass stamps from the Beautiful World stamp set. I fell in love with the ornate frame. I believe that was my favorite part of this card. Leave me a comment to tell me your favorite vintage looking crafting supplies!