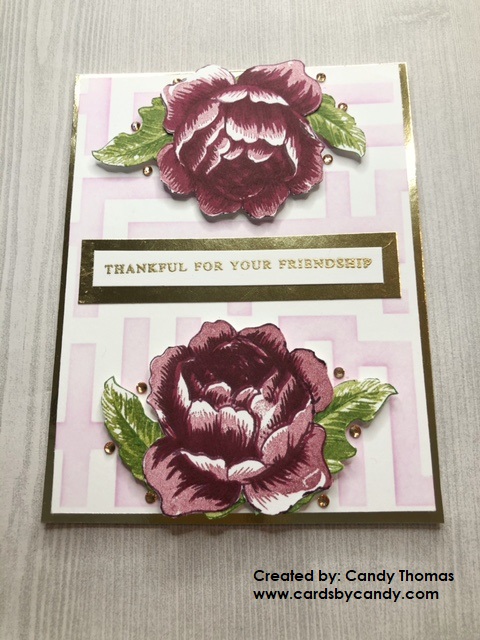
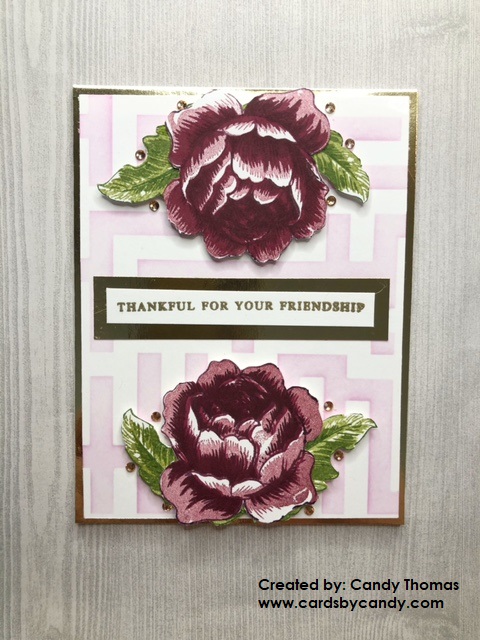
Stenciled Background with Layering Flowers
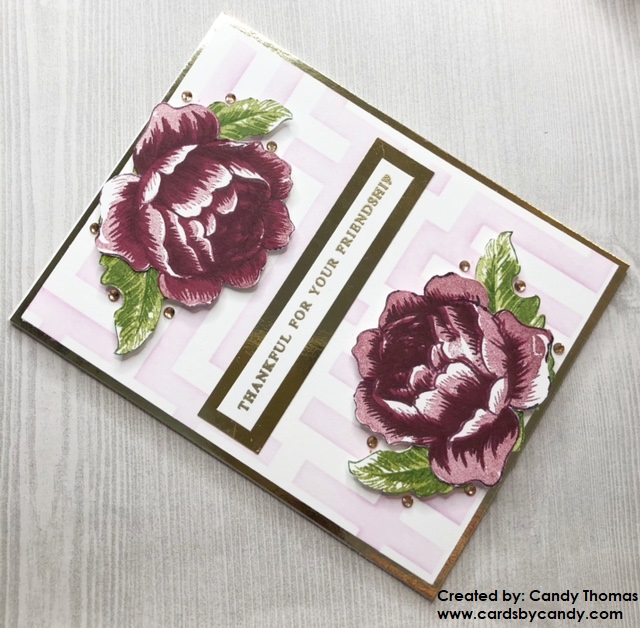
I hope y’all are enjoying a relaxing weekend full of fun crafting! I had been playing around with some of my Altenew products to create something a little different than what I would normally make. I often forget how great stencils are to use to create my own backgrounds. As I was trying different layouts, I found that I loved the combination of this Altenew Calligraphy Maze Stencil with the Altenew Rose Blossom layering stamp set. It turned out fabulously!
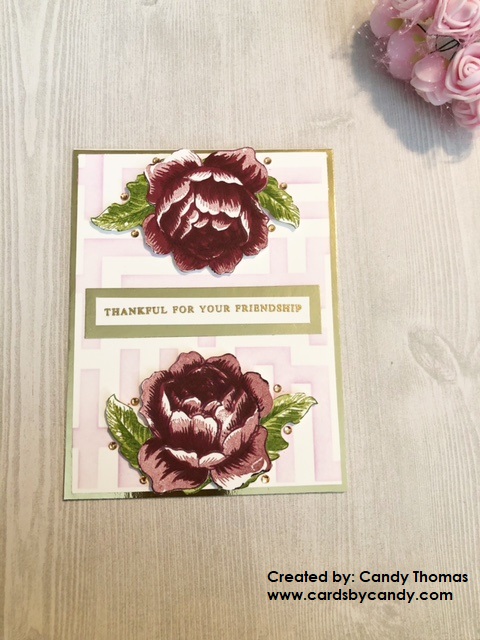
I started with a 130lb heavyweight white cardstock cut to 4 1/4 x 5 1/2 inches. I ordered this thick cardstock from Amazon. I knew I wanted to have a subtle mat to give a finished look without taking away from the beautiful flowers and stencil design. I chose a gold mirror foiled cardstock from Recollections. I cut the mat to the same size of the card so that I would have more room on the stenciled panel. I glued the gold mirror foiled cardstock to the front of the card with Gina K Connect glue. I set the card base to the side while I worked on the card panel.
For the stenciled panel, I cut a 4 x 5 1/4 inch piece of white cardstock. I used a removable adhesive to attach the panel to a paper grid from Stampin’ Up! so I could run my blending brush over it. I placed the Altenew Calligraphy Maze Stencil over the panel and used washi tape to keep it secure while I blended ink over it. At first, I started with Altenew Pink Diamonds crisp dye ink, but it was too light, so I changed it to a shade darker using the Altenew Pinkalicious crisp dye ink instead. This gave the light pink I wanted. It turned out beautifully! As an FYI, you will have to be careful when blending ink over the middle part of the stencil because the short lines of the maze are easy to come up when you are blending in a circular motion. I did not adhere the stencil in the middle because I did not want to mess up the design of it.

Once the stenciled panel was completed, I set it aside to dry. I used the leaves from this same Altenew Rose Blossom stamp set. I used Stampin’ Up! inks for the leaves. For the outline layer, I used Garden Green. The solid fill layer I used Pear Pizazz. for the darker fill in to give shadows, I used Wild Wasabi. I stamped four leaves and set those aside to dry. Next, I started stamping the roses. For these, I also used Stampin’ Up! inks. For the outline layer of the rose, I used Blackberry Bliss. The solid fill was the lightest color, and I used Sweet Sugar Plum. For the third layer, which gave the first shadows, I used Berry Burst. For the fourth layer, I used Fresh Fig. Any color family inks you have on hand would work. Altenew has great color families, I just happened to have these from Stampin’ Up! so I decided to use those colors for it. I set the flowers to the side to dry.
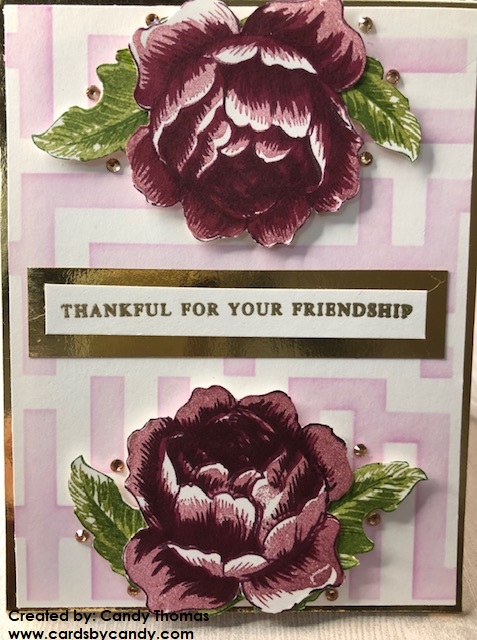
While waiting on the ink to finish drying, I rubbed an antistatic embossing buddy pouch over a thin strip of white cardstock. Then, I stamped the “Thankful for Your Friendship” sentiment stamp from the Altenew Cross Stitch Flowers stamp set using Versamark ink on a thin white strip of card stock. I poured Stampin’ Up! gold embossing powder over it. Next, I heat set it with a heating tool to get the gorgeous embossed finish for the sentiment. I added a small strip of the same mirrored gold foil cardstock from Recollections to the back of the sentiment strip to make it pop. I glued this to the middle of the stenciled panel using AdTech double-sided permanent crafting tape.
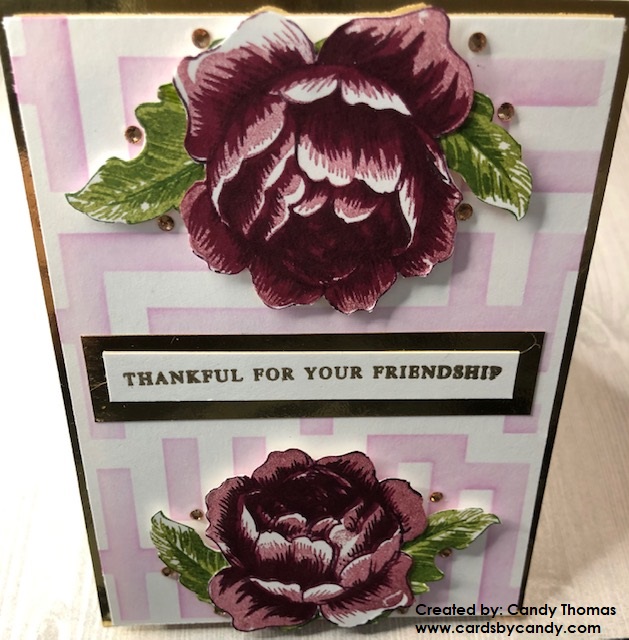
Next, I adhered a foam adhesive dimensional tape to the back of the stenciled panel. I placed it in the middle of the card base. Then, I worked on fussy cutting out the leaves and the roses. If you have visited my previous posts, you’ll remember that I mentioned this Altenew stamp set does have coordinating dies, but I have not purchased those yet. These leaves are roses are super easy to cut by hand and did not take too much time. I wanted to play around with where the flowers would go. At first, I was going to put both down at the bottom left corner together and the sentiment in the middle of the card. I really did not like how I had the flowers placed, so I moved these around and decided to put one at the top and one at the bottom. Once I figured out where I wanted everything to go, I glued the leaves behind each flower. I wanted the flowers to be slightly raised, so I used thinner foam dimensional dots to pop up these flowers.
I placed the flowers on the top and bottom of the stenciled panel. To finish it off, I added some tiny Stampin’ Up! Champagne Rhinestone Jewels around the flowers. It turned out exactly as I wanted. I loved challenging myself to use a stencil to create a background. What stencils do you have on hand to create a simple background?