




Hello everyone! I am so glad you joined me again today! This week, Altenew Certified Educators participated in a YouTube hop called “Creative Accents”. In this hop, we explore various ways to add accents to our projects! There are some beautiful cards, so make sure to watch the hop!
For my card, I wanted to do a travel theme. I enjoy traveling and would be happy to go somewhere every month. Since I had a bit of the travel bug, but was stuck in town, I decided to make a travel card. While there are several pieces to it, it was actually a very simple card to make.
First, I cut my card base to 5×7 inches. Then, I cut a card panel to be 5×6 inches. On this panel, I used Altenew Sea Glass ink to color it blue. While the panel was still damp from inking it, I ran it through the Altenew Traveler’s Atlas embossing folder. Using the Altenew Books Are Magic stamp set to stamp my sentiment in Cosmic Berry above the atlas. Sadly this is stamp set is retired, but you could use a similar travel sentiment you already have. To make the atlas visible and stand out from the blue, I gently rubbed Altenew Rose Gold Pigment ink over the raised portion. You do have to rub it lightly so the ink stays only on the embossed image. Once it was all dry, I glued this panel to the card base.
A tip for dry embossing with a folder is to either lightly spritz your paper with water or emboss it quickly after inking a panel. This helps the image to be crisp since the fibers are loosened from the moisture. It also helps your cardstock to not tear or crack.
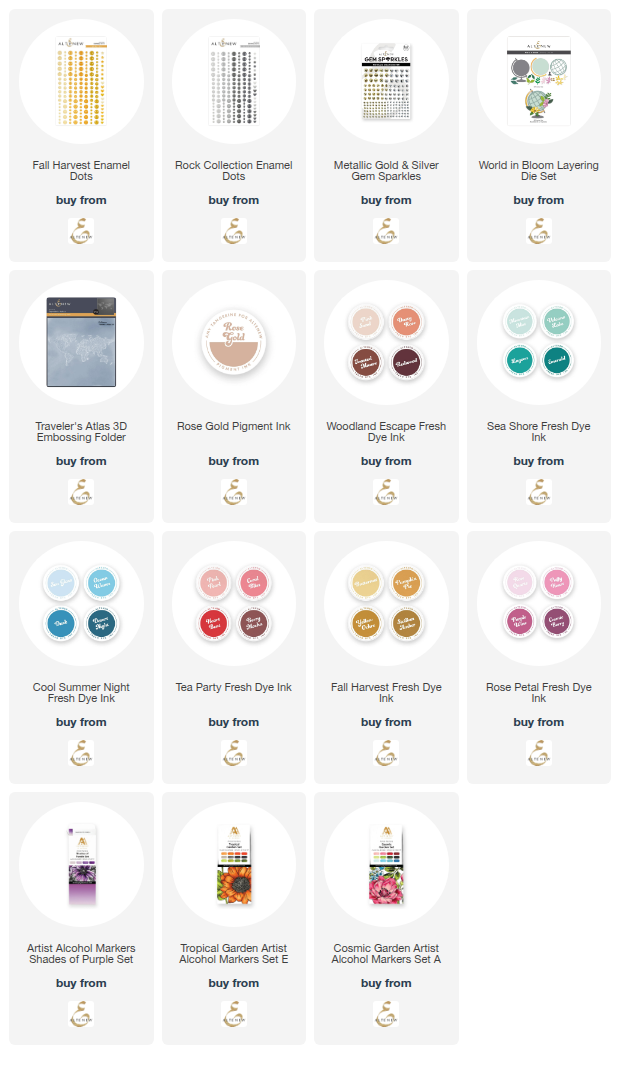
I cut a thin strip of cardstock and inked it using Altenew Cosmic Berry Crisp Dye Ink. I glued this below the atlas for a pop of color. Using white cardstock, I used inks and alcohol markers to get my colors for the globe, the stand, the flowers, and the leaves. For the purple flowers, I used Altenew Shades of Purple Alcohol Markers. For the centers on both colors of flowers, I used Sicilian Amber. The pinkish flower had three layers. I used Dusty Rose and Pink Sand dye inks and Pink Pearl ink. For the leaves, I used Altenew Cosmic Garden alcohol markers in three of the shades of green in this set. The globe base was colored using Altenew Industrial Crisp Dye Ink. The yellow (supposed to mimic gold) on the stand was Altenew Warm Sunshine ink. For the globe I used Mountain Mist dye ink and the grid I used Volcano Lake dye ink.
After all the inks dried, I used the Altenew World in Bloom die set to die cut the globe, stand, accent pieces, and flowers. This die set is very easy to use as it has the keyhole system for the flowers. This makes it easy to layer the flowers in the correct order. I used a liquid glue to adhere the pieces together. I used a lilac alcohol marker over the grid portion of the globe to make the color slightly different. I used foam dimensional tape on the back of the globe to add dimension to the card. Then, I layered and adhered my flowers around the globe.
The final step was to add creative accents around my card. I did this by adding Fall Harvest enamel dots around the yellow portion of the globe. For the gray base, I used the darker gray Rock Collection enamel dots. Because sparkle makes everything better, I used the gold gemstones from the Altenew Silver and Gold Gemstones. I put one over Nashville (as close as I could get), since I live here, and one over Europe since I love visiting all the countries there.
I hope you are able to use this set or one similar to create beautiful travel cards. I would love to see your designs! Thank you again for stopping by! If you want to be entered into the Altenew Giveaway, make sure to watch the YouTube Hop, like, subscribe, and enter a comment on each educator’s video from the Creative Accents Hop.
Most of the products used to make this card are linked below!