Hello everyone! Thank you for joining me again today for another card technique. Our focus will be on Impressive Heat Embossing. I still remember the first time I saw heat embossing in action. I was a brand-new crafter at my friend, Paggy’s house. She was teaching us different techniques and heat embossing was the one I was about to learn. Once I saw it in action, I was a huge fan. Fast forward to now, I am once again amazed at the possibilities I learned from my Altenew Impressive Heat Embossing class. I never thought about layering heat embossing for color instead of using inks. This class was so useful!
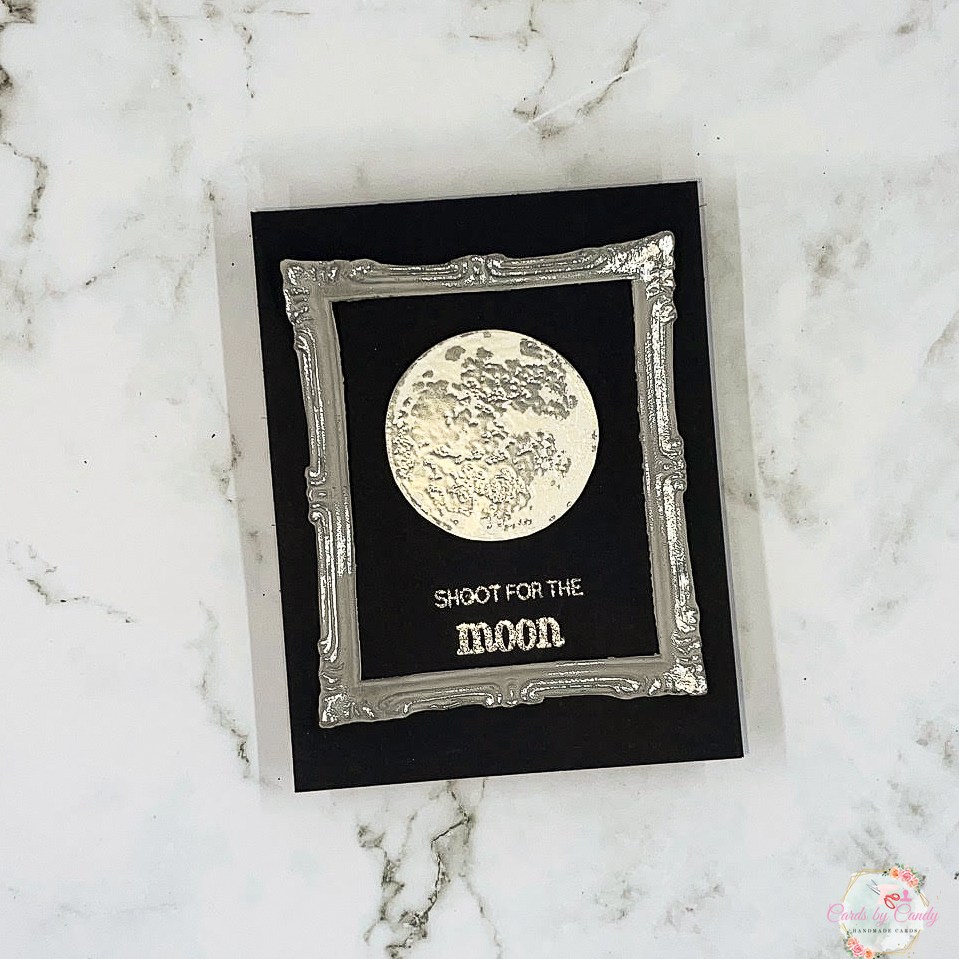
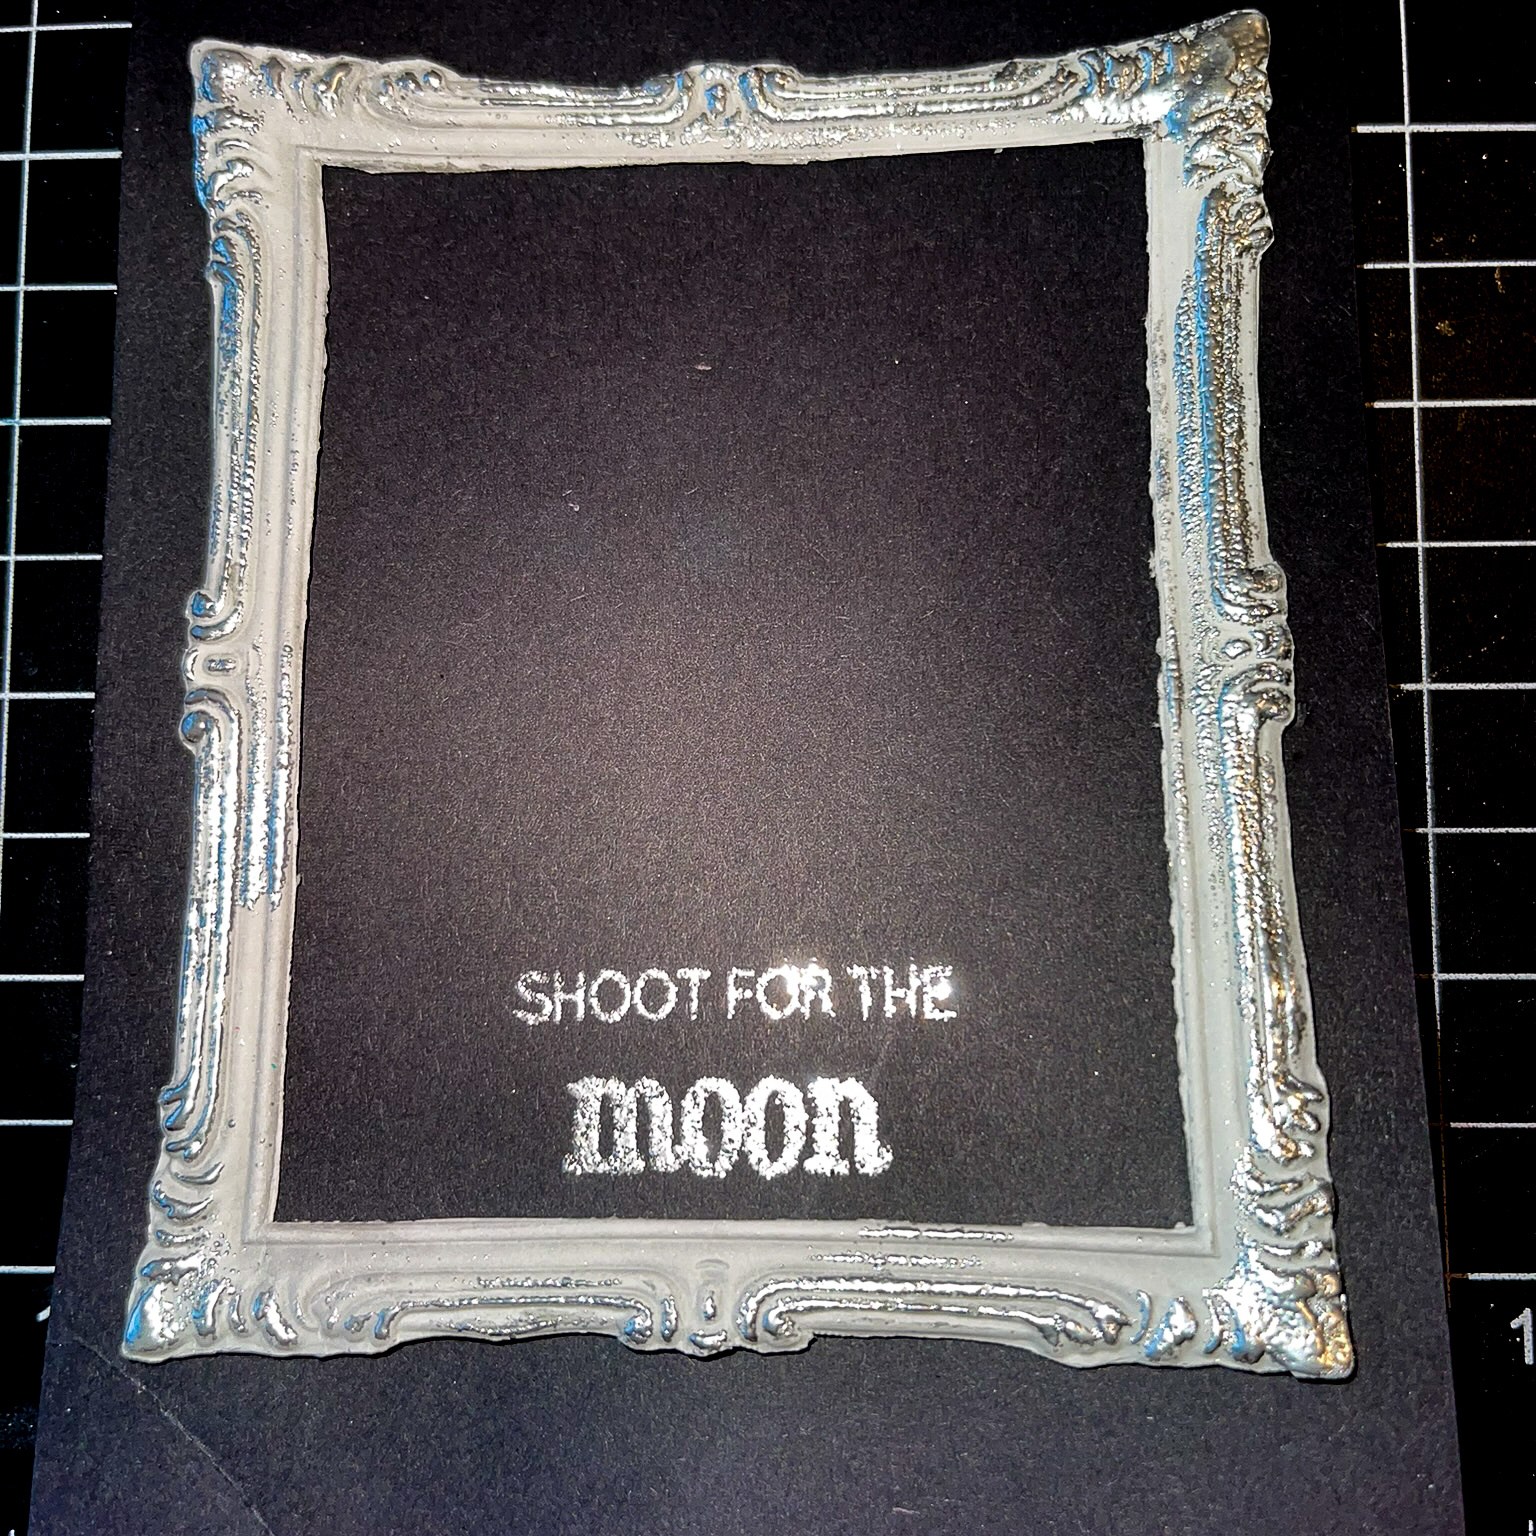
This simple gem of card was made using the Altenew Simple Frames embossing folder and Altenew To the Moon stamp and die set. You’ll notice from this post that this card was very simple to make. First, I started by creating a solid black card base using extra heavyweight black cardstock. Then, I cut a light gray cardstock down to 4″ by 5 1/4″. I ran this gray panel inside of the Altenew Simple Frames embossing folder. Since this gray cardstock was not very heavy, I cut three more panels of the same size and embossed each panel. Next, using a craft knife, I cut out the middle rectangle and saved those pieces to use on a different card. I glued all four of the embossed frames together.


As I was allowing the frame to dry, I gently placed it down in the center of the card base to use as a guide to where I wanted to stamp my sentiment. Using the Altenew To the Moon stamp set, I chose the “shoot for the” and the “moon” stamps. I placed these face down on the card base. Then, I used my acrylic block to pick it up so that it would be positioned exactly as I had it on the card base. Before stamping, I rubbed the bottom of the card base with my antistatic powder. I stamped the sentiment in Versamark ink and poured silver glitter embossing powder over it. I heat set it and got that beautiful glimmer.
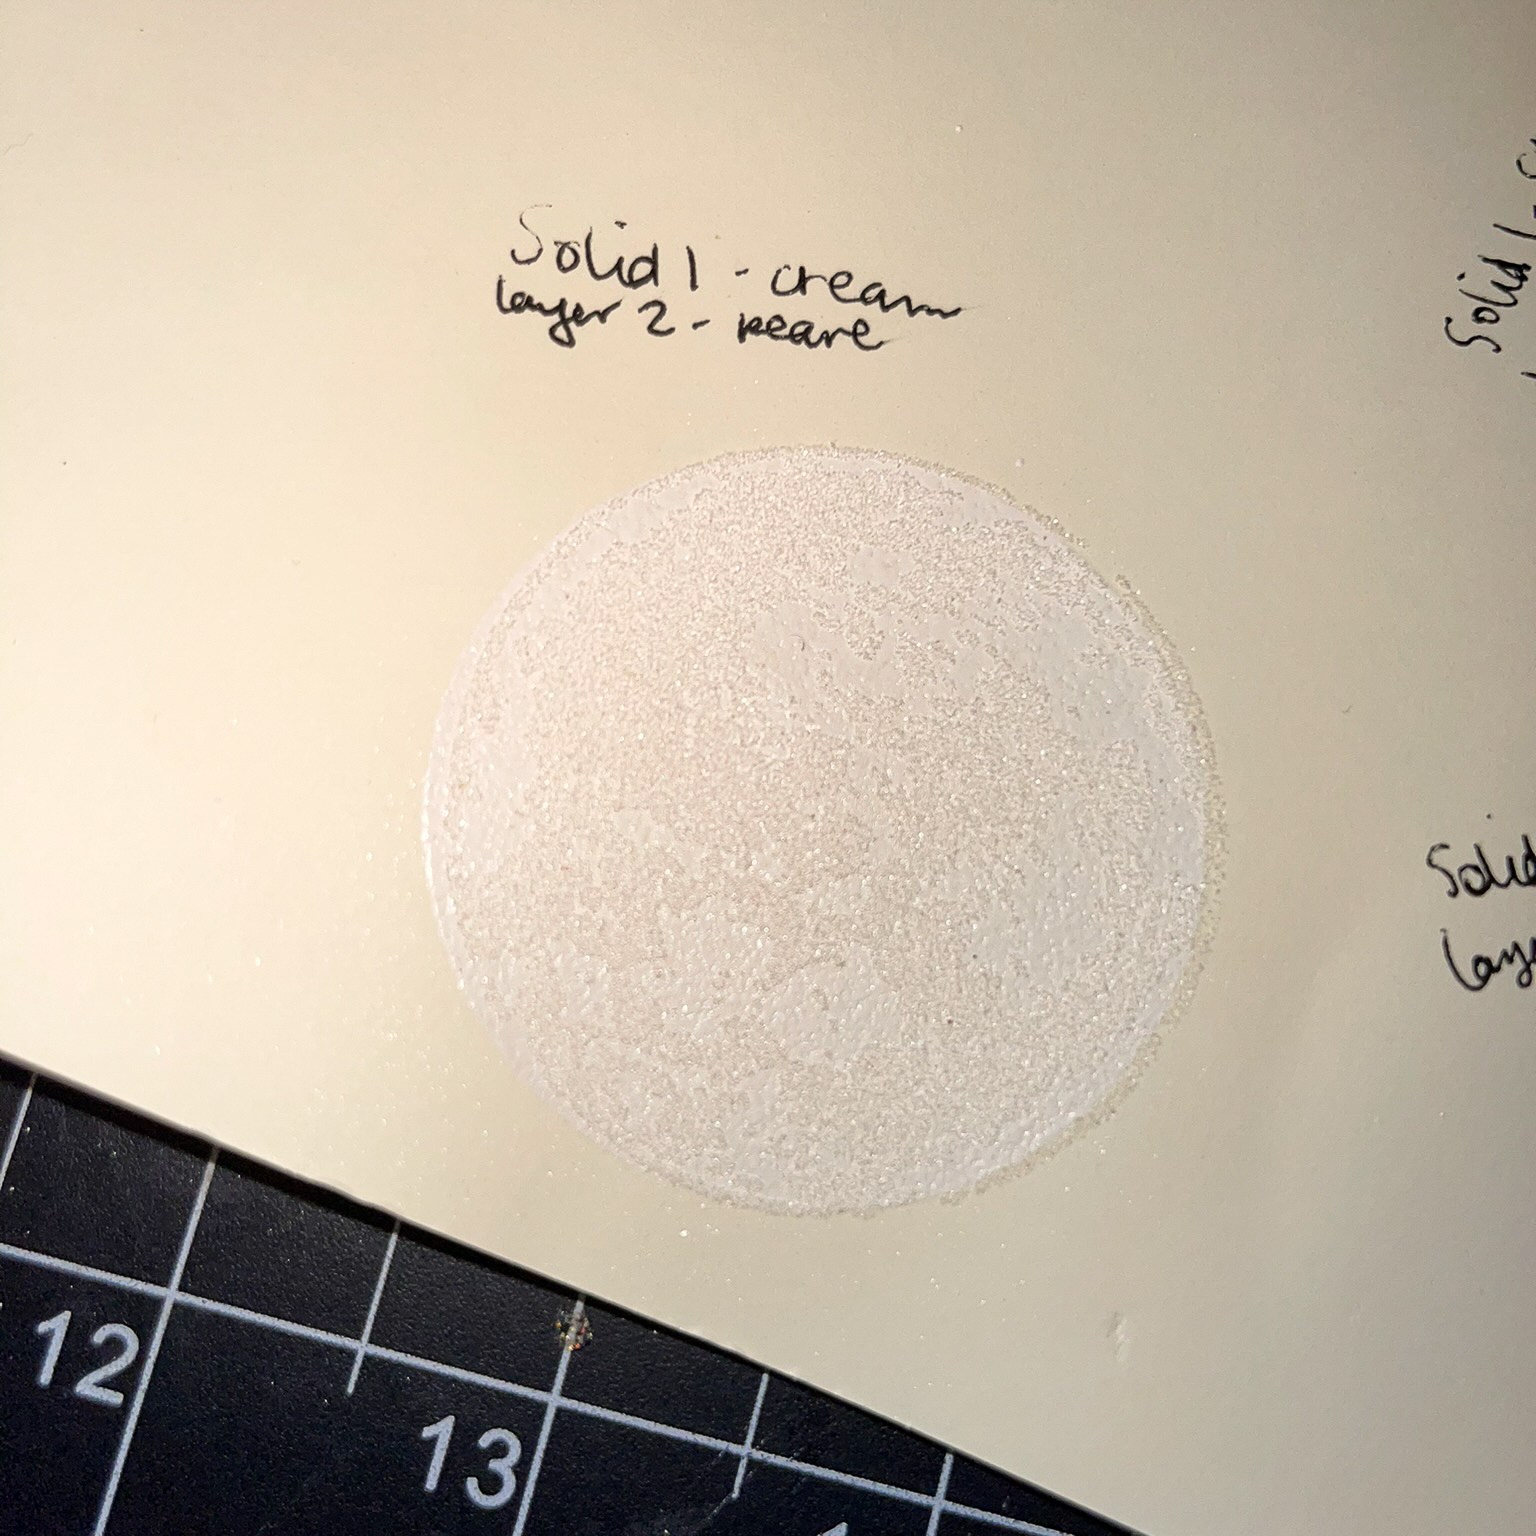
One of the main points I learned from this class is that you can use embossing powder to color your layering images. Before, I had only used ink, so I was excited to give this a try for my moon. As I started working to create my moon, I used various embossing powder color combos – five to be exact – before I found the one that I loved the most. Using cream cardstock and the Altenew To the Moon stamp set, I rubbed antistatic powder on the cardstock. Then, I grabbed the solid moon layer and stamped it with Versamark ink. I poured cream embossing powder over the solid moon image and heat set it. I waited about two minutes to let the solid moon image cool down. A tip from the class when using embossing to color each layer is to use antistatic powder after heat setting each layer. I rubbed the solid image with antistatic powder and then stamped the second layer of the moon using Versamark ink. This time, I poured pearl embossing powder over the image and heat set it. The pearl gave off a light shine, but was slightly darker than the cream. It looked beautiful!! After the second layer cooled, I used antistatic powder again and stamped the third layer of the moon with Versamark ink. For the final layer, I used silver embossing powder and heat set it. This gave me the exact look I wanted. This moon was stunning.


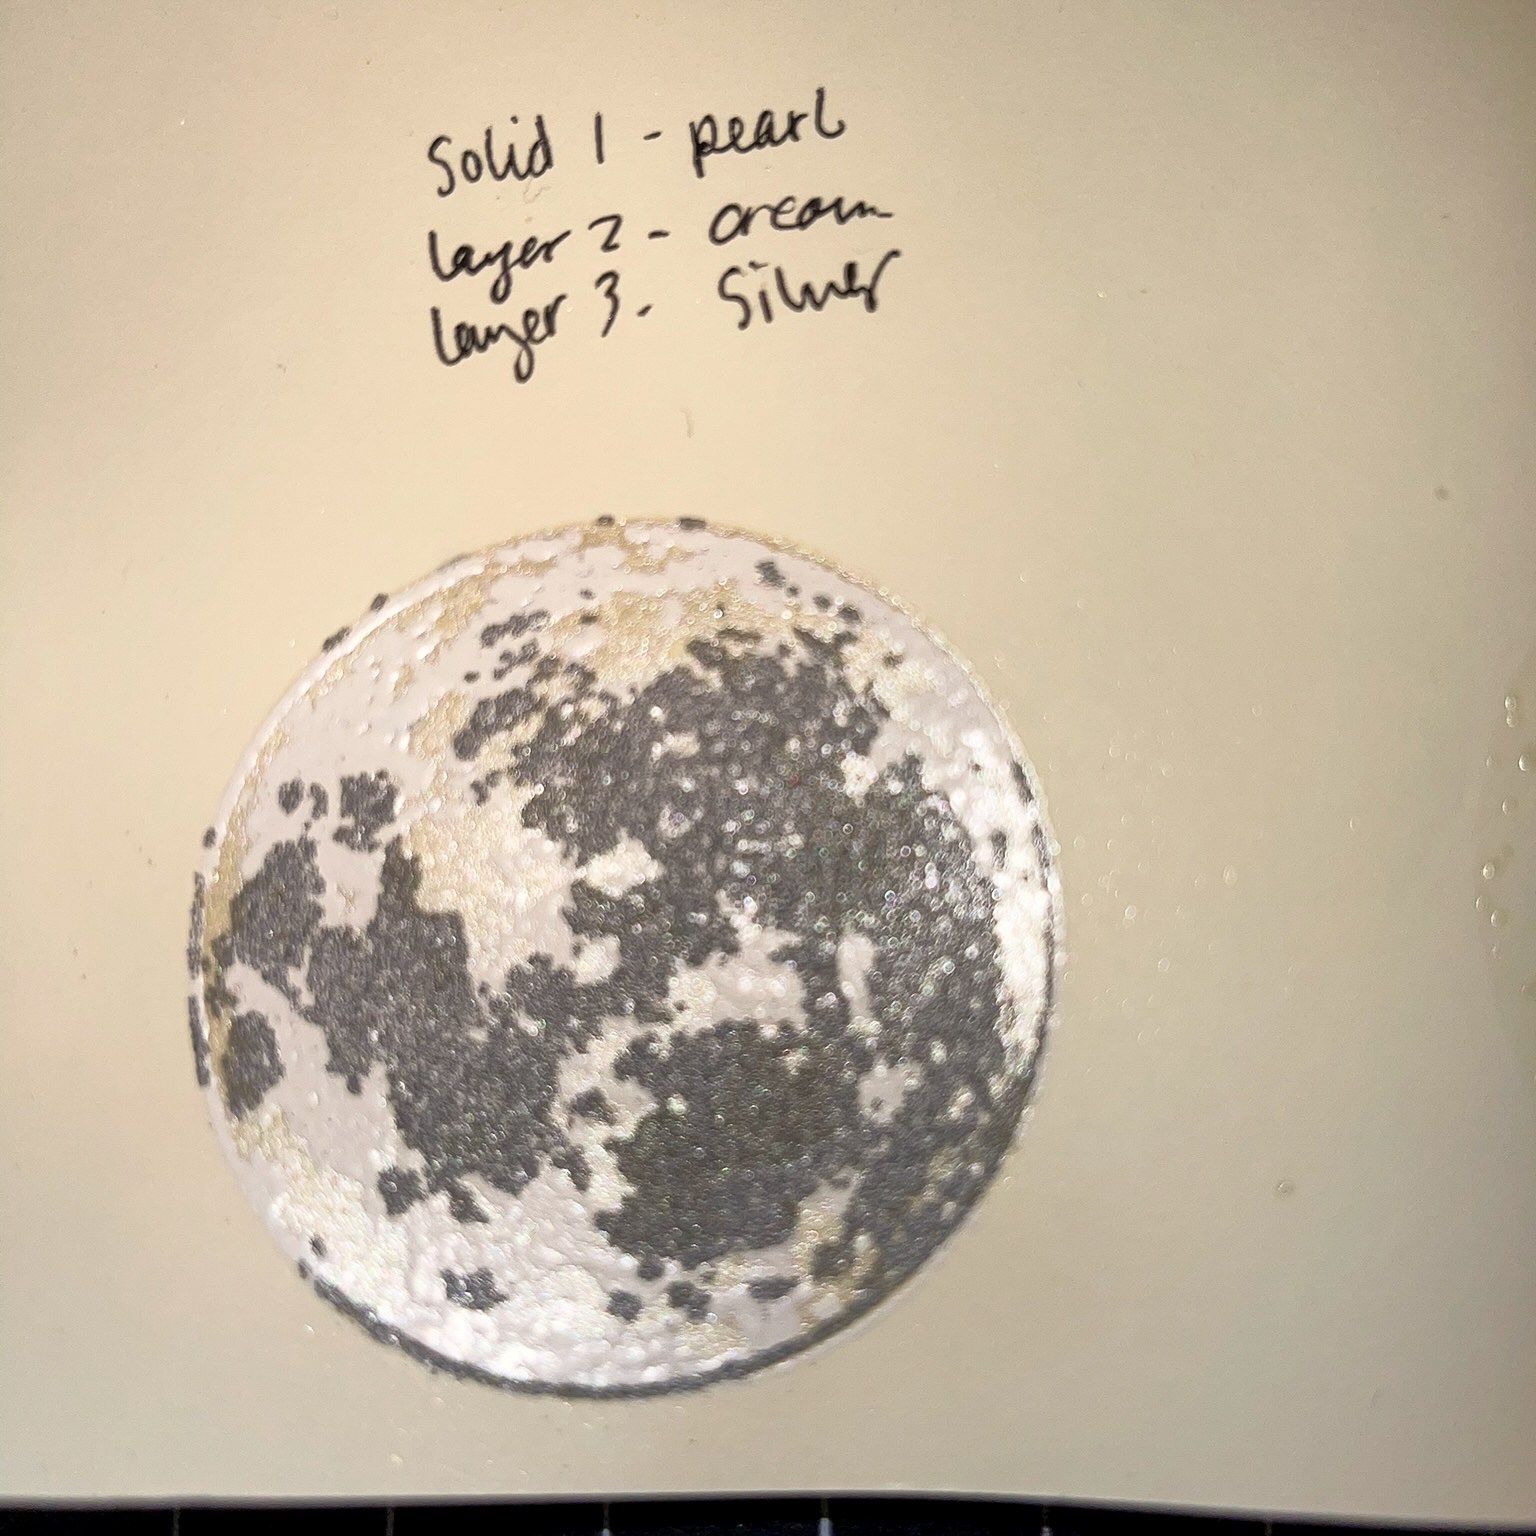
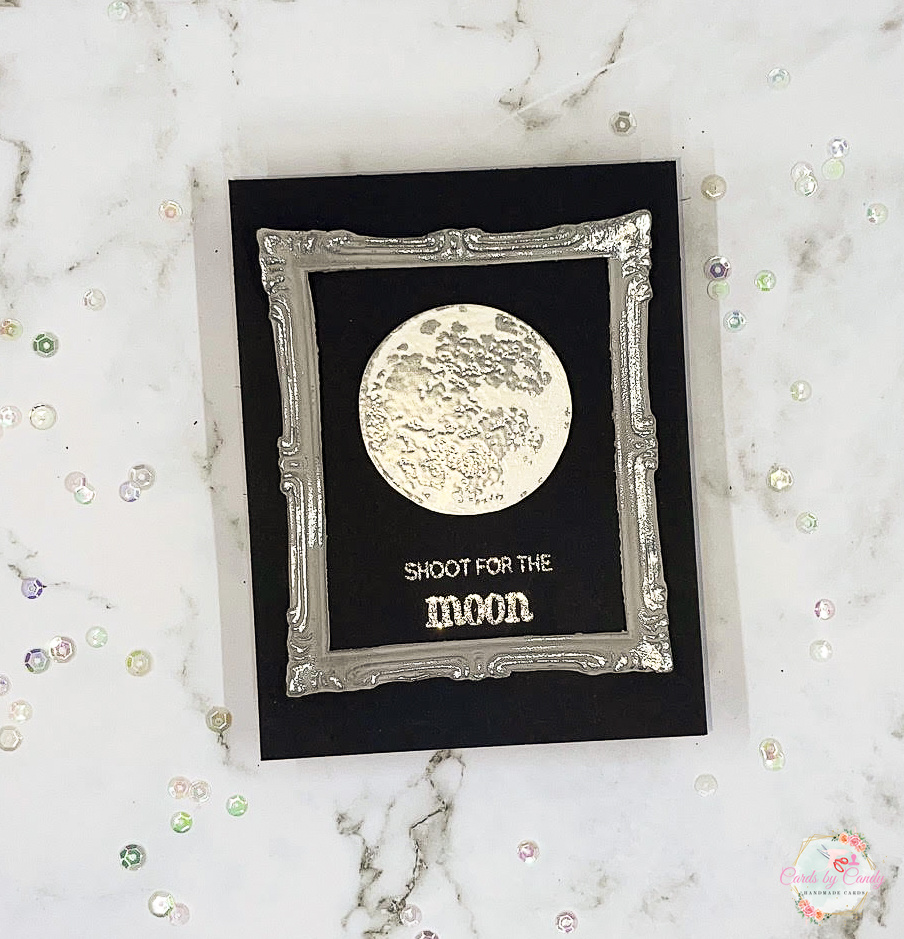
As I mentioned before, I tried five different color layer combos and decided this combo order looked the best like a natural moon. I die cut the moon out using the Altenew coordinating To the Moon die set. I die cut three more circles using the moon circle die. I glued the three circles and the moon together to create dimension. Placing my frame down as a guide, I used black foam dimensional tape on the back of my moon to pop it up even more.
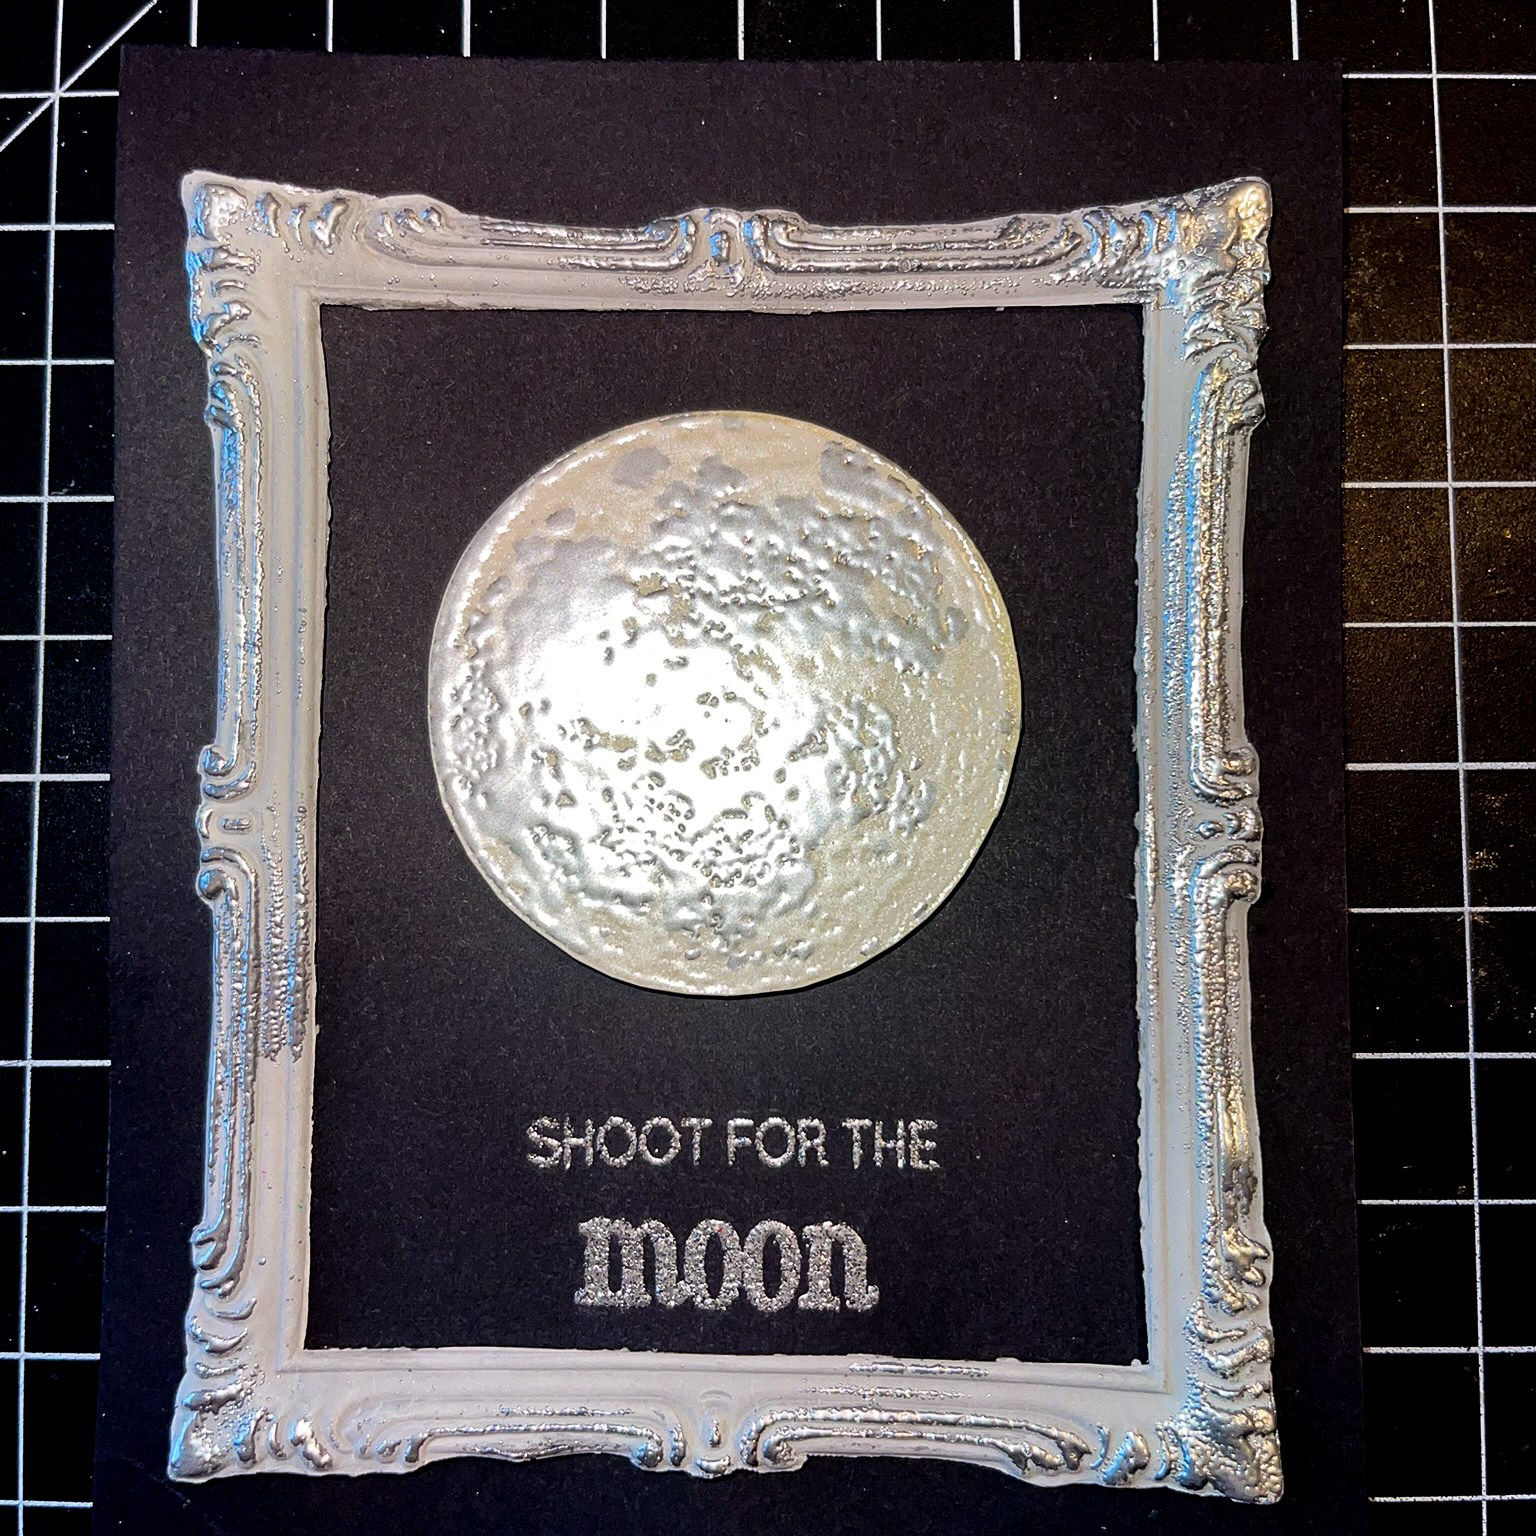
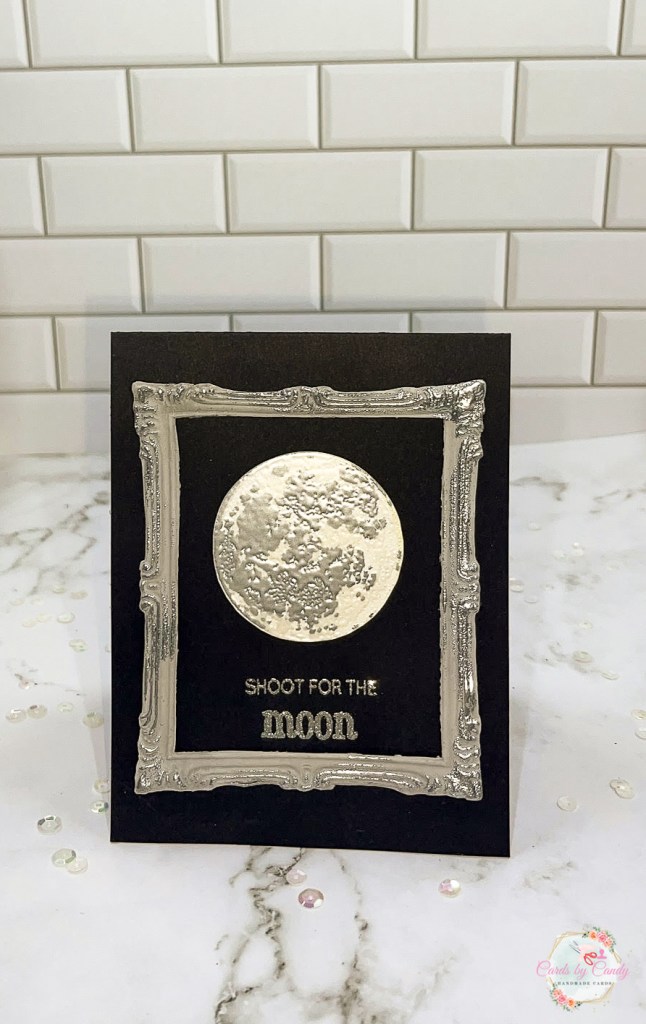
While looking at the frame, I noticed once it dried and from all my pressing to get each frame layer to stick, the embossed portion of the frame was smooshed down. I placed the frame layer inside of the Altenew Simple Frames embossing folder and embossed it again to make sure the details were crisp. I had a little bit of a fiasco with my electric die cutting machine since the layers were so thick along with the 3D embossing folder. It actually got stuck and I had the hardest time getting it out. I had to unscrew my electric die cutting machine since there is not a handle I could use to push it through. Next time, for the thick frame layers, I will use my manual die cutting machine. Surprisingly, the frame came out beautifully. I had worried it would be torn from all of that!
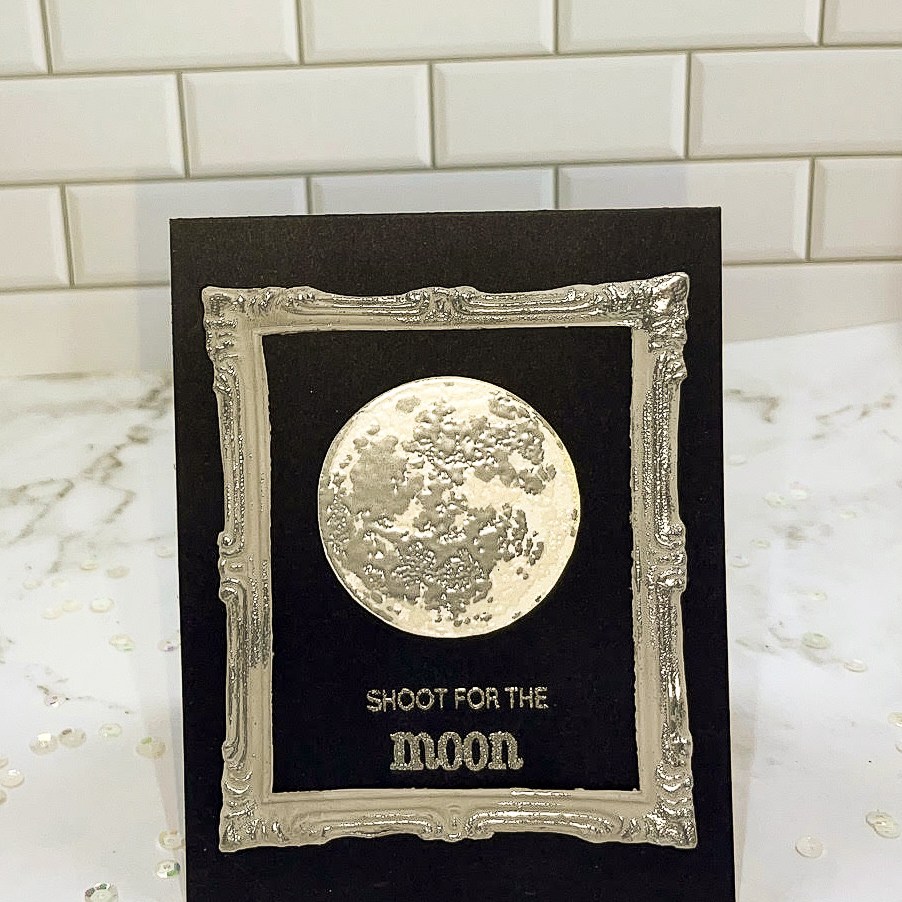
Looking at the frame, I wanted the gorgeous details of the frame to pop even more. Also, I wanted to give it a vintage feel. Using my small Versamark ink spot, I lightly ran the ink spot over the grooves of the frame. Then, I poured silver embossing powder over it and heat set it. I love how the frame turned out. The fine details of it really pop! On the back of the frame, I added black foam dimensional tape and adhered it to the card around the moon. I’m so in love with it! This would be a great masculine card too! Let me know in the comments what you think! Thank you so much for visiting today! Happy crafting!