


After passing the Level 1 Altenew Educator Certification Program (AECP), I am ready to move along to Level 2! For this class we learned many different tips on creating backgrounds that go a step up. Several examples given were to use DIY stencils, using stencils and stamps together to create dimension, foiling, vellum, water coloring, washi tape, and water bleaching. I had used the other techniques before, so I knew immediately that I had to create a background using water bleaching. And…I knew exactly which Altenew stamp set to use!


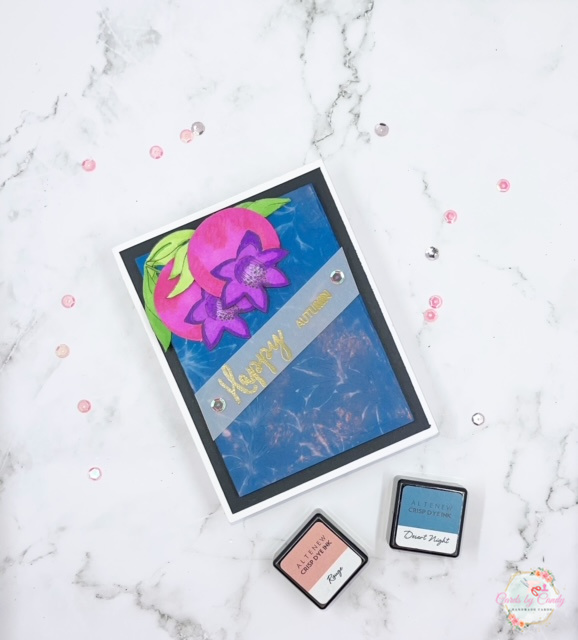
Taking the Altenew Happy Pomegranate stamp set, I stamped two of the large pomegranates. I colored these with alcohol markers and then fussy cut around the images because I did not want the outer rim the dies give. These were easy to cut. Next, I cut a heavyweight white card base to 5 1/2″ x 4 1/4″. I cut a black mat to 4″ x 5 1/4″ and glued this panel to the card base. For the water bleached panel, I cut white cardstock to 3 1/2″ x 4 3/4″. On the bottom half of the panel, I rubbed Altenew Rouge dye ink to have a medium shade of pink. At the top, I rubbed Altenew Desert Night dye ink. As I noticed the colors blending, I realized I preferred the dark night ink all over the card. I rubbed the dark night on top of the rouge ink to make it the same color. While the dark covered up the pink shades, you’ll notice from the photos that as I began the water bleaching technique that the pink began to shine through.
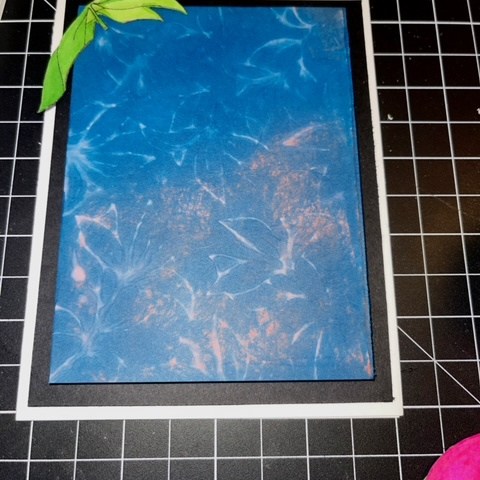

To begin the water bleaching, I took one of the leaves and I spritzed water on it. Immediately I stamped the watered image on the blue panel. It is very important to use a stamp positioning tool such as a MISTI or Stamparatus because you will have to go over the same water stamped image about four to five times in order to get it bleach really well. Between each water stamp, I cleaned off the image because I wanted to make sure it was fresh water each time to make the bleaching go faster. I rotated my stamp and repeated this process until the whole background was water bleached. I absolutely loved how the bleaching turned out. I’ll be using this again with other flower stamps or a mandala stamp.

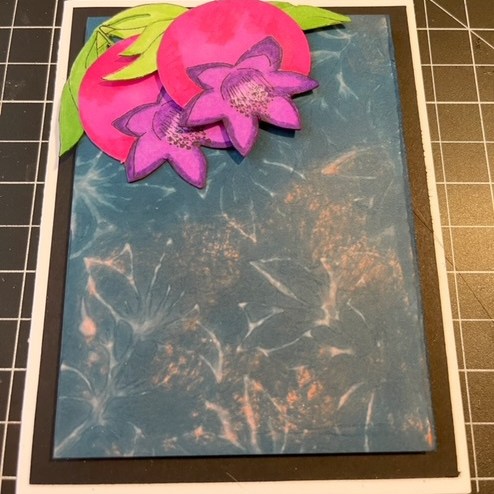
I completed the card by cutting a diagonal piece of vellum and stamped Happy Autumn from the Happy Pomegranate stamp set on it with Versamark ink. I poured champagne embossing powder over it and heat set it. Because vellum is very see through, I used two small glue dots, one at each end, and put on the back of the vellum sentiment strip. I adhered it to my bleached panel and covered up the glue dots with two pink iridescent sequins. Finally, I popped it up using thick, black craft foam and adhered it to the card base. I arranged the two pomegranates to the top left corner of it and used black foam dimensionals to give even more dimension.
I truly like how the pink shines through the bleaching. Next time, I will use two layers of colors over the entire card. Thank you again for stopping by to read about this card. Let me know in the comments what you think or how you could use water bleaching on your next card!
That is an interesting look that you’ve got going on there, Candy! I was like “what is that!”. Wonderful texture! Thank you for your fabulous suubmission.
Thank you! This one challenged me quite a bit.